Winterizing Your Deck in Idaho (2026)
Protect your Idaho deck this winter! Learn essential cold-weather tips for cleaning, sealing, snow removal, and preventing damage.
Winterizing Your Deck in Idaho: Essential Cold-Weather Tips
Idaho winters are beautiful, but they can be brutal on your outdoor deck. From heavy snowfall to freezing temperatures and cycles of thawing and refreezing, your deck faces a constant onslaught of weather that can lead to cracks, warping, and other costly damage. Taking the time to properly winterize your deck is crucial to prolonging its lifespan and ensuring it’s ready for you to enjoy when spring rolls around. This comprehensive guide will walk you through the essential steps to prepare your Idaho deck for the winter months.
🏗️ Planning a deck project?
Get a free manual project review, or visualize your dream deck with AI before requesting quotes.
📅 Tool Alert: Maintenance Planner
Get a custom seasonal maintenance schedule to protect your investment for decades.
Plan Maintenance →Looking for more regional information? Check out our Idaho State Decking Hub.
Why Winterizing Your Deck in Idaho is Crucial
Idaho's climate presents unique challenges for decks. The combination of:
- Heavy Snowfall: Snow accumulation puts significant weight and pressure on deck boards, potentially causing structural damage.
- Freezing Temperatures: Water trapped in cracks and crevices expands when frozen, exacerbating existing damage and leading to new problems.
- Thawing and Refreezing Cycles: These cycles cause constant expansion and contraction, stressing the deck materials and weakening the structure.
- UV Exposure: Even in winter, the sun’s UV rays can fade and damage deck surfaces.
Failing to winterize your deck can result in:
- Warped or Cracked Deck Boards: Moisture penetration and freezing cycles can cause significant damage to wood and even some composite materials.
- Loose Railings and Stairs: Ice and snow can loosen fasteners and weaken the structural integrity of your deck railings and stairs.
- Mold and Mildew Growth: Trapped moisture creates a breeding ground for mold and mildew, which can stain your deck and pose health risks.
- Premature Deck Failure: Neglecting winter maintenance can significantly shorten the lifespan of your deck, leading to costly repairs or replacement. The average deck in Idaho lasts 15-20 years with proper care.
Step-by-Step Guide to Winterizing Your Idaho Deck
Here's a comprehensive guide to help you prepare your deck for the Idaho winter:
1. Thorough Cleaning: Preparing the Surface
Cleaning is the foundation of any winterization process. Before you can protect your deck, you need to remove all debris and contaminants.
- Remove All Furniture, Planters, and Decorations: Clear everything off your deck to allow for a thorough cleaning. This includes furniture, planters, rugs, grills, and any other items stored on the deck.
- Sweep Away Debris: Use a stiff-bristled broom to sweep away leaves, dirt, pine needles, and other debris from the deck surface and between the boards. Pay close attention to corners and hard-to-reach areas.
- Wash the Deck: Use a deck cleaner specifically designed for your deck material. For wood decks, a wood cleaner with a mildewcide is recommended. For composite decks, a composite deck cleaner is best.
* Wood Decks: Apply the cleaner according to the manufacturer's instructions. Use a scrub brush to work the cleaner into the wood, paying attention to stained or mildewed areas. Rinse thoroughly with a garden hose. Avoid using a pressure washer on wood decks, as it can damage the wood fibers. If you must use a pressure washer, use a low-pressure setting (below 500 PSI) and a wide fan nozzle.
* Composite Decks: Apply the cleaner and scrub with a soft-bristled brush. Rinse thoroughly with a garden hose. Pressure washers can be used on most composite decks, but check the manufacturer's recommendations first. Use a low-pressure setting and a wide fan nozzle.
- Address Stains and Mildew: If you have stubborn stains or mildew, use a specialized stain remover or mildew cleaner. Follow the manufacturer's instructions carefully. You might need to let the cleaner sit for a specific amount of time before rinsing.
- Allow the Deck to Dry Completely: Before proceeding to the next step, ensure your deck is completely dry. This may take several days, depending on the weather. Moisture trapped under a sealant can lead to rot and other problems.
2. Inspecting for Damage: Identifying Potential Problems
A thorough inspection is crucial for identifying potential problems before winter sets in.
- Check for Loose Boards: Walk across your deck and check for any loose or wobbly boards. Tighten any loose screws or nails. If the fasteners are stripped, replace them with larger screws or nails.
- Inspect Railings and Stairs: Check the railings and stairs for loose or damaged components. Make sure the posts are securely attached to the deck frame. Tighten any loose bolts or screws. Replace any damaged railings or stairs.
- Look for Cracks and Splintering: Inspect the deck boards for cracks, splinters, and other signs of damage. Small cracks can be filled with a wood filler or epoxy. Larger cracks may require replacing the affected board.
- Check for Rot: Use a screwdriver or awl to probe the wood for soft spots, especially around posts, railings, and stairs. If the wood is soft and easily penetrated, it may be rotting. Rotting wood should be replaced immediately.
- Examine the Deck Frame: Inspect the deck frame for signs of damage, such as rot, cracks, or sagging. The frame is the foundation of your deck, and any damage should be addressed promptly. This may require professional assistance. The cost to repair a deck frame in Idaho can range from $500 to $5,000 depending on the extent of the damage.
- Evaluate the Flashing: Ensure the flashing where the deck connects to your house is intact and properly sealed. Damaged flashing can allow water to penetrate the house, leading to serious damage.
- Consider a Professional Inspection: If you're unsure about the condition of your deck, consider hiring a professional deck inspector. They can identify potential problems that you may have missed. You can find a list of Best Deck Builders in Boise, Idaho: Local Contractor Guide to help you find a qualified inspector.
3. Sealing or Staining: Protecting the Deck Surface
Sealing or staining your deck provides a protective barrier against moisture, UV rays, and other damaging elements.
- Choose the Right Product: Select a sealant or stain specifically designed for your deck material and climate.
* Wood Decks: Oil-based sealants and stains are generally recommended for wood decks, as they penetrate the wood and provide better protection. Water-based sealants and stains are also available, but they may not last as long. Consider Best Decking Material for Idaho's Climate: What Handles the Seasons for long term deck solutions.
* Composite Decks: Some composite decks do not require sealing or staining, as they are already resistant to moisture and UV rays. However, some composite deck manufacturers recommend applying a sealant to protect the surface from fading and staining. Check the manufacturer's recommendations for your specific composite deck material.
- Prepare the Surface: Before applying the sealant or stain, ensure the deck is clean, dry, and free of any loose debris. Lightly sand the deck surface to create a better bond for the sealant or stain.
- Apply the Sealant or Stain: Apply the sealant or stain according to the manufacturer's instructions. Use a brush, roller, or sprayer to apply the product evenly. Apply multiple coats if recommended.
- Allow the Sealant or Stain to Dry Completely: Allow the sealant or stain to dry completely before using the deck. This may take several days, depending on the weather.
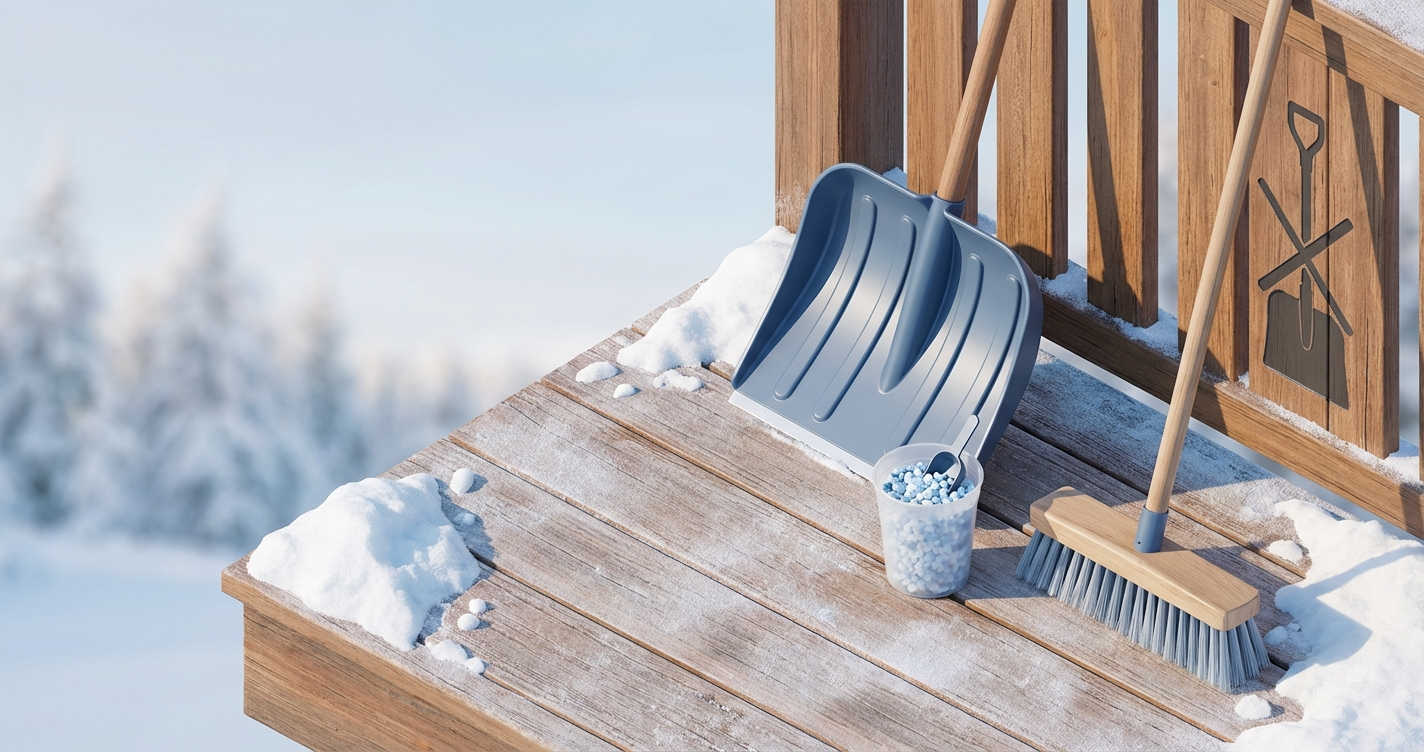
4. Snow Removal Strategies: Preventing Structural Damage
Proper snow removal is crucial to preventing structural damage to your deck.
- Use a Plastic Shovel: Avoid using a metal shovel, as it can scratch and damage the deck surface. Use a plastic shovel with a smooth edge to remove snow.
- Shovel in the Direction of the Boards: Shovel in the direction of the deck boards to avoid damaging the surface.
- Remove Snow Regularly: Don't allow snow to accumulate to excessive levels. Remove snow after each significant snowfall. The weight of accumulated snow can put a tremendous strain on your deck's structure.
- Use a Snow Melting Product Sparingly: If you use a snow melting product, choose one that is safe for your deck material. Avoid using rock salt, as it can damage wood and concrete. Calcium chloride is a safer alternative. Use these products sparingly, as they can still be harmful to the environment.
- Consider a Roof Rake: A roof rake can be used to remove snow from overhanging roofs, preventing it from accumulating on your deck.
- Avoid Piling Snow Against the House: Don't pile snow against the house, as it can melt and seep into the foundation, causing damage.
5. Protecting Your Deck Furniture: Preparing for Storage
- Clean Your Furniture: Before storing your deck furniture, clean it thoroughly to remove dirt, grime, and mildew. Use a mild soap and water solution.
- Cover Your Furniture: If you're storing your furniture outdoors, cover it with waterproof covers. Make sure the covers are securely fastened to prevent them from blowing away.
- Store Cushions and Pillows Indoors: Cushions and pillows should be stored indoors to protect them from moisture and mildew.
- Consider Indoor Storage: If you have the space, storing your deck furniture indoors is the best way to protect it from the elements.
6. Addressing Drainage Issues: Preventing Water Damage
Proper drainage is essential to prevent water damage to your deck.
- Ensure Proper Slope: Make sure your deck is properly sloped to allow water to drain away from the house. A slope of 1/4 inch per foot is generally recommended.
- Clean Gutters and Downspouts: Clean your gutters and downspouts regularly to prevent clogs. Clogged gutters can cause water to overflow and damage your deck.
- Check for Standing Water: After a rain or snow melt, check your deck for standing water. Standing water can indicate drainage problems.
- Consider Adding Drainage: If you have drainage problems, consider adding drainage solutions, such as French drains or perforated pipes.
Cost Considerations for Winterizing Your Deck
The cost of winterizing your deck can vary depending on the size of your deck, the materials used, and whether you hire a professional. Here's a general estimate:
- Cleaning Supplies: $20 - $50
- Sealant or Stain: $50 - $200
- Snow Shovel: $20 - $50
- Furniture Covers: $50 - $200
- Professional Inspection: $100 - $300
- Professional Winterization: $300 - $1,000+
Remember, investing in winterizing your deck can save you money in the long run by preventing costly repairs or replacement. If you are considering replacing your deck altogether, be sure to research How Much Does a Deck Cost in Idaho? Complete 2026 Guide and Deck Cost in Boise: Local Pricing Guide for 2026 for relevant cost estimates.
When to Start Winterizing Your Deck in Idaho
The best time to start winterizing your deck in Idaho is in the late fall, before the first snowfall. Aim to complete the process by late October or early November. This will give you enough time to clean, inspect, and seal your deck before the weather turns harsh.
🎨 Not sure which material to pick?
Upload a photo of your backyard and see exactly how Trex, TimberTech, or cedar would look — free and instant.
Frequently Asked Questions
How often should I seal my wood deck in Idaho?
It's generally recommended to seal a wood deck every 1-3 years in Idaho's climate. This depends on the type of sealant used, the amount of sun exposure, and the amount of traffic the deck receives. Water should bead up on a properly sealed deck. If water soaks into the wood, it's time to reseal.
Can I use rock salt to melt ice on my deck?
No, avoid using rock salt on your deck, especially if it's made of wood or concrete. Rock salt can damage these materials. Calcium chloride is a safer alternative, but use it sparingly.
What if I find rot on my deck during the inspection?
If you find rot, it's important to address it immediately. Small areas of rot can be treated with a wood preservative. Larger areas of rot may require replacing the affected boards. If the rot is extensive, consult a professional deck builder.
Is it necessary to cover my deck furniture during the winter in Idaho?
Yes, covering your deck furniture is highly recommended. This will protect it from the elements and prevent damage. If possible, store your furniture indoors.
What if I don't have time to winterize my deck myself?
If you don't have the time or ability to winterize your deck yourself, consider hiring a professional deck maintenance company. They can provide comprehensive winterization services, including cleaning, inspection, sealing, and snow removal.
Do I need a permit to repair my deck in Idaho?
Whether you need a deck permit in Idaho depends on the scope of the repairs and the local building codes. Generally, replacing a few boards or railings does not require a permit. However, if you are making structural changes to the deck, such as replacing posts or beams, you will likely need a permit. Check out Do You Need a Deck Permit in Idaho? Rules by City & County for detailed information.
📋 Planning a deck project?
Get a free manual project review from our team — no obligation, no spam.
Get Free Project Review →Upload a backyard photo and preview real decking materials with AI — free, instant, no sign-up.
Permits, costs, material comparisons, and questions to ask before requesting quotes — delivered to your inbox.