Deck Board Gap Calculator: Seasonal Expansion in Ontario
Calculate proper deck board gaps for Ontario's freeze-thaw climate. Free calculator for wood & composite spacing based on temperature and moisture.
Your deck boards expand and contract with Ontario's extreme temperature swings. Gap them too tight and they'll buckle in summer humidity. Too wide and you'll drop keys through the cracks all winter.
The right gap depends on material type, board width, installation temperature, and moisture content. Here's how to calculate the exact spacing for your deck.
Related guides (to avoid deck board headaches)
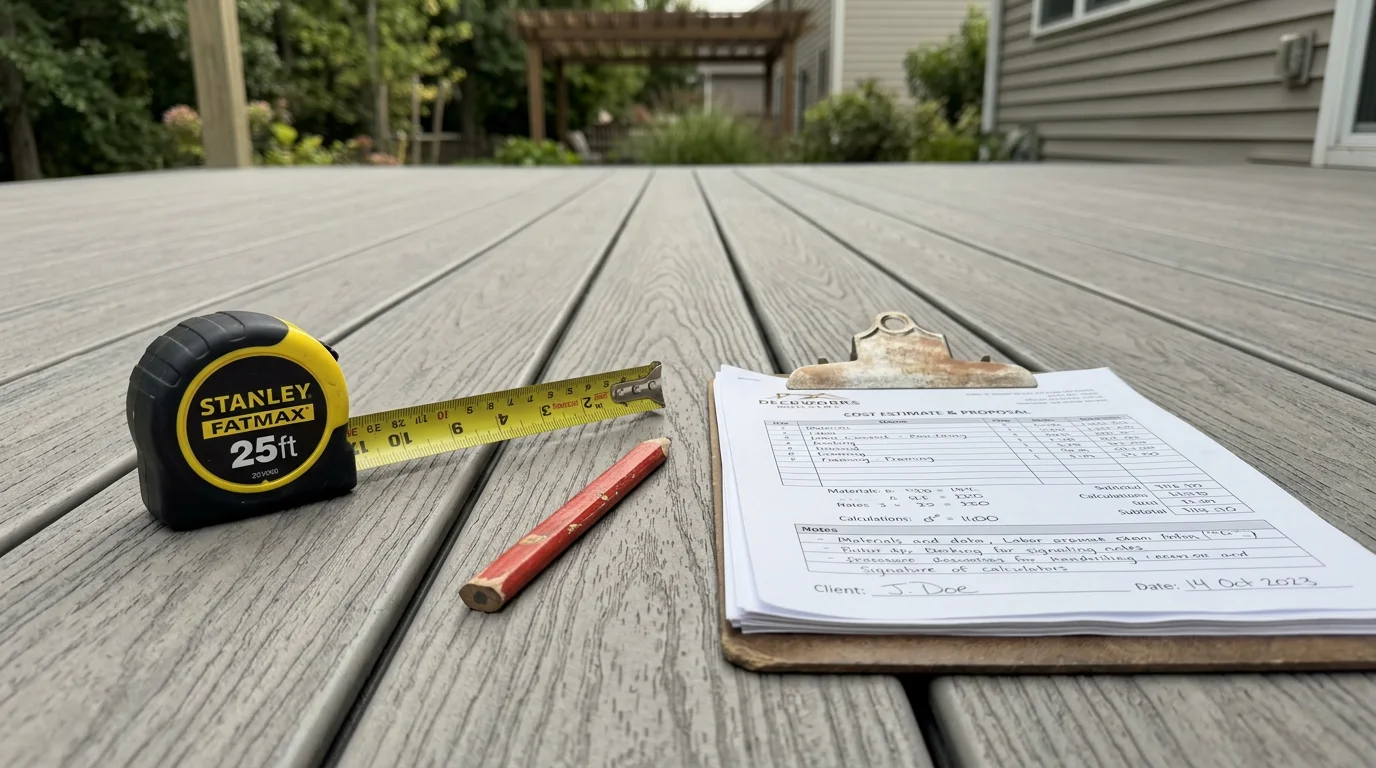
- Installed cost planning (so you don’t overspend on materials): Ontario deck cost calculator
- Composite expansion and install realities: composite decking guide
- Protect the framing while you’re here: joist tape + membrane guide
- Get quotes from local builders: /decks
🏗️ Planning a deck project?
Get a free manual project review, or visualize your dream deck with AI before requesting quotes.
How Deck Boards Move in Ontario's Climate
Ontario sees temperature swings from -25°C in January to +35°C in July. Wood and composite both respond to these changes, but differently.
Wood deck boards expand and contract based on:
- Moisture content (wet vs. kiln-dried)
- Temperature (winter cold shrinks, summer heat expands)
- Board width (wider boards move more)
Composite deck boards expand and contract based on:
- Temperature only (they don't absorb water like wood)
- Material composition (capped vs. uncapped, PVC vs. wood-fiber core)
- Color (dark boards get hotter, expand more)
A 12-foot pressure-treated board installed wet in April will shrink up to 3/8 inch by September. A 12-foot dark composite board installed at 0°C can expand up to 1/4 inch by July.
Deck Board Gap Calculator: Quick Reference
Pressure-Treated Wood (Most Common in KWC)
| Board Moisture | Install Temp | Recommended Gap |
|----------------|--------------|-----------------|
| Wet (fresh from lumberyard) | Any | 1/16" (tight contact) |
| Wet (green-treated) | Spring/Fall | 1/16" or touching |
| Kiln-dried after treatment | Cold (<10°C) | 3/16" |
| Kiln-dried after treatment | Moderate (10-25°C) | 1/8" |
| Kiln-dried after treatment | Hot (>25°C) | 3/32" |
Why wet boards need tight gaps: Wet pressure-treated lumber shrinks as it dries. If you install with a 1/8" gap in May, you'll have 1/4" gaps by August. Install wet boards touching or with minimal gap — they'll create their own spacing as they dry.
Cedar Deck Boards
| Board Condition | Install Temp | Recommended Gap |
|-----------------|--------------|-----------------|
| Kiln-dried | Cold (<10°C) | 3/16" |
| Kiln-dried | Moderate (10-25°C) | 1/8" |
| Kiln-dried | Hot (>25°C) | 3/32" |
| Air-dried (still damp) | Any | 1/16" |
Cedar is typically sold kiln-dried, so it won't shrink as dramatically as wet pressure-treated. Use the same spacing as kiln-dried PT lumber.
Composite Decking (Trex, TimberTech, etc.)
| Install Temp | Board Length | End-to-End Gap | Side Gap |
|--------------|--------------|----------------|----------|
| Cold (<5°C) | Any | 12mm (1/2") | 6mm (1/4") |
| Cool (5-15°C) | Any | 8mm (5/16") | 5mm (3/16") |
| Moderate (15-25°C) | Any | 6mm (1/4") | 4mm (5/32") |
| Hot (>25°C) | Any | 3mm (1/8") | 3mm (1/8") |
Always follow manufacturer specs — some brands require specific gaps. Trex, for example, recommends 6mm (1/4") side gaps and 6-12mm end gaps depending on temperature.
Dark composite boards (grays, browns, blacks) absorb more heat and expand more than lighter colors. If you're installing Trex Island Mist (light gray) vs. Havana Gold (dark brown) at the same temperature, the darker board needs slightly more gap.
How to Calculate Gaps for Your Specific Install
Step 1: Check Material Moisture Content
For wood decking:
- Grab a board from your lumber stack
- Does it feel heavy and damp? That's wet lumber — use tight gaps
- Does it feel lighter and dry? That's kiln-dried — use standard gaps
- If you have a moisture meter, wet PT lumber reads 18-25% moisture content, kiln-dried reads 12-15%
Most pressure-treated deck boards sold in KWC lumberyards (Home Depot, Rona, Lansink) are wet-treated, not kiln-dried. They'll shrink significantly after installation.
Step 2: Measure Board Width
Wider boards move more than narrow boards. A 2×6 (actual width 5.5") experiences more seasonal movement than a 5/4×6 deck board (actual width 5.5" but thinner profile).
Expansion formula for wood:
- Approximate shrinkage: 0.5% of board width for wet PT lumber drying out
- Example: 5.5" wide board shrinks about 0.03 inches per board as it dries
- Over 20 boards (typical 12-foot deck width): 0.6 inches total gap increase
Step 3: Check Installation Temperature
On install day, measure the ambient air temperature and board temperature. Boards sitting in direct sun can be 10-15°C hotter than air temperature.
If you're installing composite decking on a hot August day when boards have been sitting in the sun, let them cool in the shade for 30 minutes before installing — or use minimum gaps.
Step 4: Use Spacers for Consistency
Recommended gap spacers:
- 16d nail (3.5" long, 0.162" diameter) = good for 1/8" gaps
- 10d nail (3" long, 0.148" diameter) = slightly tighter than 1/8"
- Deck board gap tool (plastic multi-size spacer) = $15-25 at Home Depot, has 1/8", 3/16", 1/4" settings
- Popsicle sticks = approximately 3/32"
For composite, many manufacturers sell proprietary spacing tools that match their specs exactly.
Common Gapping Mistakes in Ontario
Installing wet PT boards with standard 1/8" gaps: You'll end up with 1/4" gaps by late summer. Use tight gaps and let the boards create their own spacing.
Using the same gaps for composite as wood: Composite expands with heat (wood doesn't expand much with heat alone). If you use wood gaps for composite, boards will buckle in July heat.
Forgetting end-gap requirements for composite: Side gaps are 3-6mm, but end-to-end gaps need to be larger (6-12mm) because boards expand lengthwise too.
Not accounting for dark composite colors: A Trex Spiced Rum (dark brown) deck installed at 5°C needs larger gaps than a Trex Gravel Path (light gray) deck at the same temperature.
Installing composite in extreme cold: Most manufacturers void warranties if you install below -5°C. Boards become brittle and end gaps need to be enormous (12mm+).
What the Ontario Building Code Says About Gaps
The OBC doesn't specify exact deck board gaps — it's a material and manufacturer specification issue, not a code requirement.
However, OBC 9.3.2.9 does require that walking surfaces drain properly. If your gaps are too tight and water pools, that's a code issue. Inspectors in Kitchener, Waterloo, and Cambridge want to see:
- Proper drainage (no standing water)
- Gaps that allow debris to fall through (prevents rot)
- Manufacturer installation guidelines followed (especially for composite where warranty is tied to proper gapping)
During deck framing inspections in KWC, inspectors may ask to see your composite decking installation guide if you're using a brand like Trex or TimberTech.
How Gaps Affect Deck Lifespan
Proper gaps extend deck life by allowing:
- Water drainage — water sitting between boards causes rot
- Air circulation — prevents mold and mildew on underside
- Debris clearance — leaves and dirt fall through instead of packing in
Too-tight gaps (less than 1/16" for wood) trap moisture and accelerate rot. You'll see this on older decks where boards were installed touching — the gaps close up entirely, water pools, and boards rot from the sides inward.
Too-wide gaps (more than 1/4") create tripping hazards and let too much debris fall onto framing below. If you're using your deck for furniture, wide gaps also make it harder to keep chair legs stable.
For long-term deck maintenance in Ontario, proper gapping is just as important as staining and sealing.
Composite vs. Wood Gapping: Key Differences
| Factor | Wood (PT or Cedar) | Composite |
|--------|-------------------|-----------|
| Primary movement cause | Moisture (drying/wetting) | Temperature (expansion/contraction) |
| When it moves most | Spring (drying after winter) | Summer (heat expansion) |
| Gap adjustment for color | No | Yes (dark = larger gap) |
| Manufacturer requirements | General guidelines | Strict specs (warranty void if wrong) |
| Wet install strategy | Tight gaps, let it shrink | N/A (composite doesn't absorb water) |
If you're deciding between materials, read our full comparison: Composite vs. Wood Decking in Ontario.
Adjusting Gaps for Multi-Season Builds
Building a deck in April when it's 8°C, but it won't be finished until June when it's 25°C? Here's how to handle it.
For pressure-treated wood:
- Use wet-install gaps (tight or touching) if installing in spring
- Boards will dry over the summer regardless of when you start
- Don't adjust spacing partway through — pick one strategy and stick with it
For composite:
- Option 1: Install with gaps sized for current temperature, accept some seasonal movement
- Option 2: Install with gaps sized for average annual temperature (15°C in KWC = 6mm side gap)
- Option 3: Wait until moderate weather (15-20°C) for easiest installation
Most composite manufacturers recommend installing between 5-30°C for best results. Outside that range, you need extreme gap adjustments that are hard to execute consistently.
Tools for Maintaining Consistent Gaps
Manual spacers:
- Pros: Cheap, simple, works for any material
- Cons: Slows down installation, easy to forget placement
Hidden fastener systems (composite):
- Pros: Built-in gap spacing, cleaner look, faster install
- Cons: More expensive ($1.50-3.00 per linear foot), requires specific joist spacing
Pneumatic nailers with depth adjustment:
- Pros: Fast installation, consistent depth
- Cons: Doesn't control gaps directly (still need spacers)
For a typical 12×16 deck (192 sqft) in KWC, material costs run $45-65/sqft installed for pressure-treated or $65-95/sqft for composite, as outlined in our deck project costs in Ontario guide. Proper gapping doesn't add labor cost — it's built into standard installation. See detailed breakdowns in our Kitchener deck cost guide.
When to Hire a Pro vs. DIY Gapping
DIY is fine if:
- You're installing pressure-treated wood (more forgiving)
- Install temperature is moderate (15-25°C)
- You're using wet lumber with tight gaps (hard to mess up)
Hire a pro if:
- You're installing expensive composite ($8-15 per board — mistakes are costly)
- Install temperature is extreme (below 5°C or above 30°C)
- You're mixing materials or using hidden fasteners
- Deck is large (300+ sqft) and consistency matters for appearance
Professional deck builders in KWC charge $25-45/sqft for labor, which includes proper gapping technique. For a detailed quote checklist, see Deck Quote Line Items in Ontario.
Related guides (if you’re choosing materials)
- Composite installed price ranges: composite deck cost guide
- Railing budget (often the surprise line item): deck railing cost guide
- Full project budgeting: Ontario deck cost calculator
🎨 Not sure which material to pick?
Upload a photo of your backyard and see exactly how Trex, TimberTech, or cedar would look — free and instant.
Common Questions
Can I adjust deck board gaps after installation?
For pressure-treated wood: No. Once fastened, boards won't shift. If wet boards were installed tight and created proper gaps as they dried, you're fine. If kiln-dried boards were installed with wrong gaps, you'd need to remove and reinstall.
For composite: Slightly. If boards are buckling from too-tight gaps in summer, you can remove a few screws, trim boards, and reinstall with larger gaps. But this is labor-intensive and should be avoided by gapping correctly on install day.
What happens if I ignore manufacturer gap requirements for composite?
Most composite decking warranties are void if you don't follow installation specs. Trex, TimberTech, and Fiberon all require proof of proper installation (including correct gapping) for warranty claims. If boards buckle or crack due to improper gaps, you'll pay for replacement out of pocket — typically $8-15 per board plus labor.
Do I need different gaps for deck boards vs. fascia boards?
Fascia boards (the vertical trim around deck perimeter) are installed vertically and don't experience the same seasonal movement as horizontal decking. Use tight gaps (1/16" or less) for fascia regardless of material. For composite fascia, follow manufacturer specs — some require small gaps, others allow tight installation.
Should I use wider gaps if my deck is low to the ground?
Low decks (less than 24 inches off ground) have less airflow underneath, which means slower drying and higher moisture exposure. Use standard gaps, not wider — the gap size is for board movement, not drainage improvement. Instead, focus on proper deck drainage and ventilation to keep moisture from accumulating.
How do I gap deck boards around posts or obstacles?
Leave 1/4" gap minimum around any fixed obstacle (posts, railings, house wall). Deck boards move, posts don't — you need clearance to prevent binding. For composite decking around posts in summer heat, use 3/8" gap to account for maximum expansion. Cut curves with a jigsaw and leave consistent clearance all the way around.
Upload a backyard photo and preview real decking materials with AI — free, instant, no sign-up.
Permits, costs, material comparisons, and questions to ask before requesting quotes — delivered to your inbox.