Non-Slip Strips for Decks: Winter Safety in Ontario
Non-slip strips prevent icy deck falls in Ontario winters. Compare tape vs. grit strips, costs ($30-150), installation tips, and code requirements.
Your deck becomes a skating rink after the first freezing rain. Snow melts during the day, refreezes at night, and suddenly your back door exit is a liability. Non-slip strips turn slippery surfaces into safe pathways—and they're especially critical in Ontario's freeze-thaw cycles.
Here's what works, what doesn't, and how to install anti-slip protection that lasts through Canadian winters.
Why Ontario Decks Get Dangerously Slippery
Ontario's winter weather creates the worst possible conditions for deck traction:
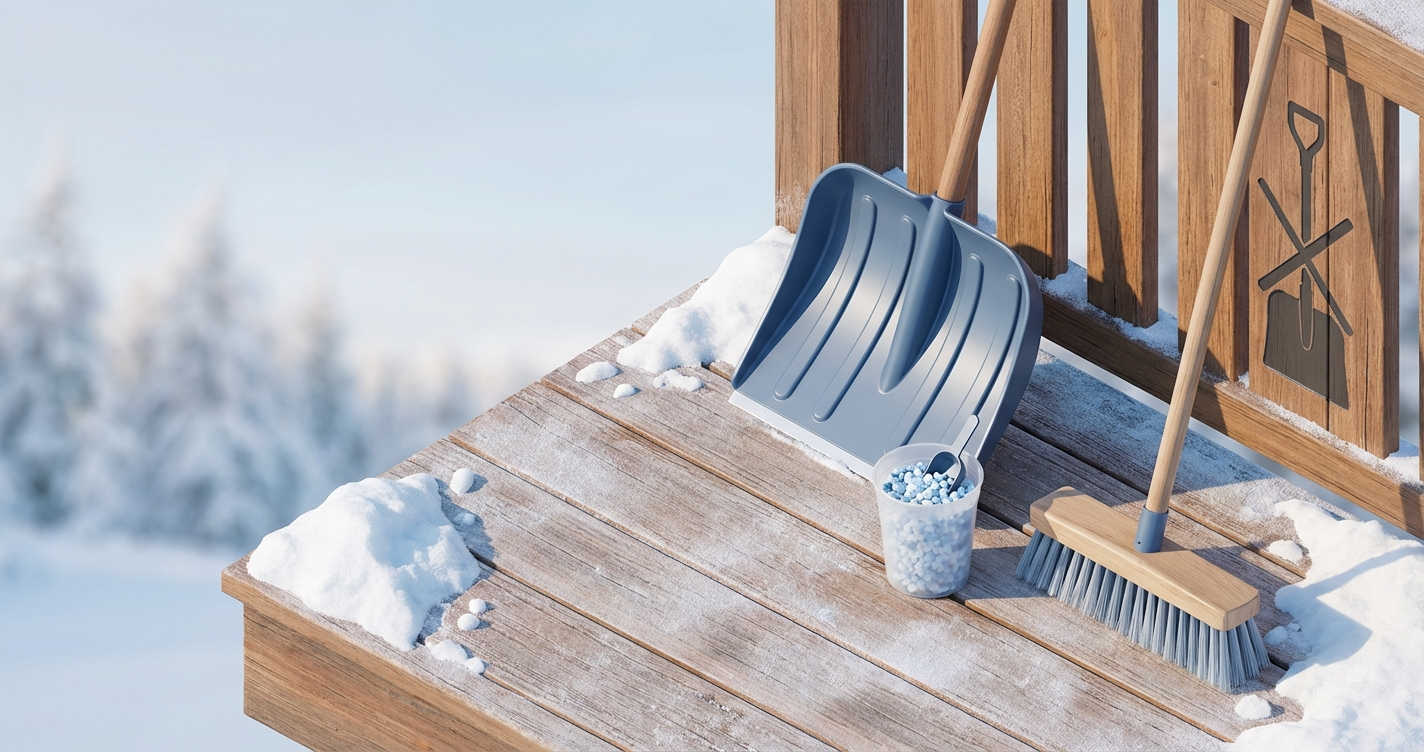
🏗️ Planning a deck project?
Get a free manual project review, or visualize your dream deck with AI before requesting quotes.
- Freeze-thaw cycling: Temperatures swing above and below freezing dozens of times between November and March. Water penetrates wood grain or composite texture during the day, then freezes into a slick glaze overnight.
- Compacted snow: Foot traffic packs snow into a slippery layer that's harder to remove than fresh powder.
- Black ice formation: Clear ice forms on darker composite decking because the material absorbs daytime heat, melts surface snow, then refreezes after sunset.
- Salt residue: De-icing salt leaves a film that's paradoxically slippery when wet—and it degrades some deck materials over time.
Wood decks develop surface smoothness as they age, losing the initial texture that provided grip. Composite decking varies wildly—some brands have aggressive texture, others are nearly glass-smooth when wet. Either way, ice is ice.
The most dangerous spots? Stairs, transition zones between deck levels, and the 3-foot path from your back door to the stairs. That's where non-slip strips earn their keep.
Types of Non-Slip Strips for Decks
Adhesive Anti-Slip Tape
The most popular option for residential decks. These are heavy-duty tape rolls with abrasive grit bonded to the surface.
Pros:
- Easy DIY installation—cut to length, peel, stick
- Available in multiple widths: 1", 2", 4", 6"
- Works on wood, composite, and painted surfaces
- Immediate traction improvement
- Cost: $30-80 for a 60-foot roll (4" width)
Cons:
- Adhesive fails in extreme cold (below -20°C) on some products
- Collects dirt and snow between grit particles
- Needs replacement every 1-3 years depending on traffic
- Can leave adhesive residue when removed
- Black tape absorbs heat and melts into asphalt shingles if applied to roof deck stairs
Best for: High-traffic areas like stairs, landing zones, and the immediate path from doorways.
Screw-Down Metal Traction Strips
Aluminum or steel strips with raised buttons, diamond patterns, or perforated holes for drainage.
Pros:
- Permanent installation—won't peel off
- Self-draining designs prevent ice buildup
- Extremely durable (10+ year lifespan)
- Can be removed and reinstalled if you replace decking
- Cost: $4-12 per linear foot
Cons:
- Requires drilling into deck boards—voids some composite warranties
- Metal conducts cold (feels colder underfoot than wood or composite)
- Can corrode if you use road salt heavily
- More visible than tape—affects deck aesthetics
- Installation takes longer (measure, drill pilot holes, countersink screws)
Best for: Commercial decks, rental properties, or homeowners who want a one-time solution and don't mind the industrial look.
Grit-Coated Paint or Epoxy
Clear or tinted coating mixed with sand, aluminum oxide, or polymer grit.
Pros:
- Covers large areas quickly
- Maintains wood or composite color (if using clear coat)
- Customizable grit coarseness
- Can fill small cracks while adding traction
- Cost: $50-120 per gallon (covers 100-150 sqft)
Cons:
- Requires surface prep (cleaning, light sanding, drying)
- Only works on wood or previously painted surfaces—not bare composite
- Needs reapplication every 2-4 years
- Difficult to apply evenly in cold weather (needs 10°C+ temps)
- Grit wears smooth in high-traffic zones
Best for: Full-surface treatment on older wood decks that need refinishing anyway. Not ideal for spot treatment.
Rubber or PVC Stair Treads
Pre-molded treads that cover the full width and depth of each stair step.
Pros:
- Maximum traction—deep ribs or raised patterns
- Cushions footfalls (more comfortable than bare wood)
- Protects stair edges from wear
- Available in multiple colors
- Cost: $8-25 per tread
Cons:
- Only works on stairs (not deck surfaces)
- Traps moisture underneath—can accelerate wood rot if not properly ventilated
- Some products crack in extreme cold (-30°C)
- Installation requires adhesive and screws for reliability
- Visible color mismatch with deck material
Best for: Homes with elderly residents, steep stairs, or frequent winter use. Essential if your stairs get morning shade (last to thaw).
Choosing the Right Product for Your Deck Material
Pressure-Treated or Cedar Wood
Best choice: Adhesive anti-slip tape on stairs and high-traffic zones. Use clear grit coating on full deck surface if you're already staining/sealing.
Wood accepts adhesives well, but surface prep matters. Clean with deck cleaner, let dry completely (48 hours after rain), then apply tape in temperatures above 10°C. The adhesive needs warmth to bond properly.
If you use screw-down metal strips, pre-drill every hole to prevent splitting—especially near board ends.
Composite Decking
Best choice: Screw-down metal strips or high-quality adhesive tape rated for plastics.
Composite surfaces are non-porous, so adhesive tape struggles. Look for products specifically labeled "for composite" with aggressive acrylic adhesive. Popular brands: 3M Safety-Walk, Rust-Oleum Anti-Slip, Jessup Safety Track.
Do not paint or epoxy-coat composite decking. The coating won't bond and will peel in sheets.
Before screwing down metal strips, check your warranty. Some composite manufacturers void coverage if you drill holes. Trex and TimberTech generally allow fasteners for accessories, but verify first.
PVC or Capped Composite
Best choice: Adhesive tape only—no screws.
PVC decking is softer than wood-composite blends. Screws can crack the cap layer, allowing moisture intrusion. Use tape rated for smooth plastics, and apply it in warm weather (15°C+) for best adhesion.
Installation Tips for Maximum Longevity
Surface Preparation
For adhesive tape:
1. Sweep or blow off loose debris
2. Scrub with TSP (trisodium phosphate) or deck cleaner to remove oils, mildew, and salt residue
3. Rinse thoroughly and let dry 48-72 hours
4. Wipe down with rubbing alcohol just before application to remove any remaining film
For screw-down strips:
1. Mark center lines with chalk—strips look best centered on board width
2. Pre-drill holes slightly smaller than screw diameter
3. Countersink pilot holes so screw heads sit flush (raised heads catch snow shovels)
Application Strategy
Stairs: Apply tape or treads to the front 3-6 inches of each step—that's where your foot lands. Full-width coverage looks better but isn't necessary for traction.
Landings: Put a 12-18" strip perpendicular to traffic flow near the door threshold. This gives you safe footing as you step outside.
Ramps: Run strips horizontally (across the width) every 12-16 inches. Vertical strips (parallel to ramp direction) don't prevent slipping downhill.
High-traffic paths: If you have a worn trail across your deck (visible darkening on wood, or smoothing on composite), add a 4-6" wide tape strip along that path.
Cold-Weather Application
Most adhesive tapes need 10-15°C air temperature to bond properly. If you're installing in winter:
- Bring tape rolls indoors overnight (room temperature adhesive flows better)
- Use a heat gun or hair dryer to warm the deck surface for 30-60 seconds before applying tape
- Press firmly with a roller or the heel of your hand—more pressure = better bond
- Avoid walking on newly applied tape for 24 hours (hard to enforce in winter, but try)
Metal strips can be installed in any weather, but cold fingers make it miserable. Wear mechanics' gloves with grip coating.
How Much Coverage Do You Actually Need?
You don't need to cover your entire deck. Focus on:
- Every stair tread: 100% coverage here. Stairs are where falls happen.
- Top landing (first 2-3 feet from door): The transition from indoor to outdoor is disorienting in winter—you're not yet paying attention.
- Bottom landing (last step to ground): Same reason.
- Any slope or grade change: Even a 5° slope becomes treacherous with ice.
For a typical 12x16 deck with one set of stairs (4 steps), you'll need:
- 60-80 linear feet of 4" tape (covers stairs, top/bottom landings, and a main walkway)
- Cost: $40-60 for tape
- Installation time: 1-2 hours
If you're using screw-down strips on stairs only:
- 4 treads × 42" width = 14 linear feet
- Cost: $55-170 depending on strip quality
- Installation time: 2-3 hours (drilling, fastening)
Alternatives to Non-Slip Strips
Outdoor Rugs with Rubber Backing
Works for: Flat deck surfaces near doorways. Not for stairs.
Heavy-duty outdoor rugs (polypropylene or recycled plastic) provide traction and dry quickly. Look for rugs with drainage holes to prevent water pooling underneath.
Cost: $30-120 depending on size. Replace every 2-3 years.
Downside: Rugs shift in wind, trap leaves, and can freeze to the deck surface. Use rug anchors or silicone caulk dots underneath.
Heated Stair Mats
Works for: High-end applications or accessibility needs.
Electric heating mats (similar to snow-melting cables for driveways) prevent ice formation on stairs. Plug into a GFCI outlet or hardwire to a dedicated circuit.
Cost: $200-600 per stair set. Adds $10-30/month to electric bill if used daily.
Downside: Requires electrical work (permit needed in Ontario). Only practical if you have an outdoor outlet near stairs. Not a DIY project—hire a licensed electrician.
Frequent Shoveling + Calcium Chloride
Works for: Homeowners willing to stay on top of maintenance.
Shovel after every snowfall, then apply calcium chloride (not sodium chloride road salt). Calcium chloride melts ice down to -30°C and is less corrosive to wood/metal than rock salt.
Cost: $20-40 for a 20 kg bag (lasts one winter).
Downside: Still slippery during freezing rain. Doesn't provide traction—just removes ice. You're betting on your response time.
This works in combination with non-slip strips, not instead of them.
Ontario Building Code and Liability
The Ontario Building Code doesn't specifically require non-slip strips on residential decks. However, Section 9.8.8 requires:
> "Exterior stairs and ramps shall be constructed to minimize the accumulation of water, snow, and ice."
Translation: You need proper drainage (slope, gaps between boards) and should take reasonable steps to prevent slipping hazards. If someone falls on your icy deck stairs, you could face liability—especially if you knew about the hazard and did nothing.
Adding non-slip strips is a reasonable precaution that demonstrates you took safety seriously and represents a small fraction of your overall deck investment in Ontario. Document the installation with photos and keep receipts. If you're a landlord, non-slip stair treatment is essentially mandatory from a liability perspective.
Maintenance and Replacement
Adhesive Tape
- Sweep weekly to remove grit and debris (trapped particles reduce traction)
- Scrub with a stiff brush monthly—use dish soap and water, no harsh solvents
- Inspect edges every spring—peel-up corners let water underneath, accelerating failure
- Replace when: Grit wears smooth, edges lift, or tape discolors to the point you can't see it at night
Screw-Down Metal Strips
- Hose off monthly to clear drainage holes
- Check fasteners every spring—freeze-thaw can loosen screws
- Re-tighten any screws that sit proud of the surface
- Replace when: Metal corrodes through, or perforations get clogged with paint/crud
Grit Coatings
- Sweep regularly (same as tape)
- Recoat every 2-4 years depending on traffic and sun exposure
- Replace when: Grit wears smooth or coating delaminates from wood
🎨 Not sure which material to pick?
Upload a photo of your backyard and see exactly how Trex, TimberTech, or cedar would look — free and instant.
Common Questions
Can I use non-slip tape on a brand-new composite deck?
Yes, but wait 4-6 weeks after installation. New composite boards have a chalky surface residue (from manufacturing) that prevents adhesive from bonding. Wash the deck with a cleaner, rinse thoroughly, let it dry, then apply tape. Some installers recommend waiting a full season so the boards go through one freeze-thaw cycle before adding adhesive products.
Will non-slip strips damage my deck when I remove them?
Adhesive tape can leave residue, especially on composite. Remove tape in warm weather (15°C+) when adhesive is soft—pull slowly at a shallow angle. Clean residue with Goo Gone or rubbing alcohol and a plastic scraper. On wood, you may pull up a thin layer of grain—unavoidable, but usually invisible once the deck weathers.
Screw-down strips leave holes. Fill with color-matched plugs or exterior wood filler. On composite, order plugs from the manufacturer (Trex, TimberTech, etc.) that match your deck color.
Do I need to remove non-slip strips before shoveling snow?
No. Quality tape and metal strips are designed to withstand shovel abuse. Use a plastic shovel blade instead of metal to minimize wear. Shovel with the grain (parallel to deck boards) rather than perpendicular—you're less likely to catch an edge and peel up tape.
How do I stop ice from forming in the first place?
You can't—not completely. Slope your deck 1/8" per foot away from the house to promote drainage (this should already be built in per code). Keep deck boards properly gapped (1/8" for wood, manufacturer spec for composite) so water drains instead of pooling. Remove snow promptly so it doesn't melt and refreeze.
If you have a problem spot (shaded corner, low point), consider adding drainage underneath to pull water away faster. See deck drainage solutions for details.
Are there non-slip options that don't change how my deck looks?
Clear grit coatings are nearly invisible on wood (they enhance color like a sealer). For composite, your only subtle option is clear adhesive tape—but "clear" still has visible grit texture and darkens the deck color slightly where applied.
If aesthetics matter more than maximum coverage, use narrow (1-2") tape strips only on stair edges and high-traffic zones. Most people won't notice 2" strips placed strategically. Covering every square inch looks industrial—and isn't necessary for safety.
Can I install non-slip strips on a deck that's already been stained or sealed?
Yes, if the stain/sealer is fully cured and not flaking. Wait at least 30 days after staining before applying adhesive tape. If the deck has a glossy polyurethane or epoxy coating, adhesive tape won't stick—you'll need screw-down strips instead. Test a small piece of tape in an inconspicuous spot before committing to full installation.
You may also find Managing Multiple Contractors for a Backyard Project in Ontario helpful.
Upload a backyard photo and preview real decking materials with AI — free, instant, no sign-up.
Permits, costs, material comparisons, and questions to ask before requesting quotes — delivered to your inbox.