Deck Board Spacing in Ontario: How Much Gap Do You Need (Summer vs Winter)?
Ontario decks expand and shrink. Learn practical board spacing/gapping guidance for pressure-treated and composite decking, and how to avoid cupping, trapped water, and squeaks.
Deck board spacing seems like a tiny detail — until your deck turns into:
- puddles that don’t drain
- boards that cup
- squeaks and loose fasteners
In Ontario, spacing is tricky because wood moisture content changes with seasons, and freeze-thaw cycles punish trapped water.
This guide covers practical spacing thinking for pressure-treated and composite decks, with examples relevant to Kitchener-Waterloo-Cambridge builds.
Why spacing exists
Gaps between boards do three main jobs:
🏗️ Planning a deck project?
Get a free manual project review, or visualize your dream deck with AI before requesting quotes.
1. Drainage (water needs somewhere to go)
2. Drying (airflow prevents rot)
3. Movement (boards expand/shrink)
If you’ve ever dealt with standing water under a deck, read:
Pressure-treated wood: spacing depends on moisture content
Pressure-treated lumber is often installed when it’s still “wet.” As it dries, it shrinks.
Practical rule:
- Wet PT boards are often installed tighter (because they will shrink)
- Dry PT boards need an intentional gap
What matters is the board’s condition at install.
The Ontario reality
In KWC, decks are often built in spring/summer when PT is wetter. Then the first winter + dry indoor season can shrink boards quickly.
Composite/PVC: follow the manufacturer, but understand why
Composite is more dimensionally stable than PT, but it still moves with temperature.
Most composite systems specify:
- a certain gap between boards
- end gaps between butt joints
- specific fasteners that maintain consistent spacing
If you’re comparing materials:
Spacing mistakes that cause the biggest problems
1) No gap = trapped water
If boards are tight, water sits longer. That can:
- increase slipperiness
- increase algae/mold
- increase rot risk in wood decks
Maintenance matters too:
- /decks/blog/pressure-treated-deck-maintenance-ontario-stain-seal-schedule
- /decks/blog/composite-deck-maintenance-ontario-cleaning-mold-snow-salt
2) Over-gapping = debris traps
If gaps are too big, they catch:
- leaves
- gravel
- kids’ toys
And high heels can become a hazard.
3) Wrong fasteners
Using incorrect screws/spacing can cause:
- mushrooming in composite
- splitting in PT
- squeaks from movement
Board spacing vs. structural stiffness
Sometimes what feels like a “deck board problem” is actually a framing problem.
If the deck is bouncy:
- boards flex more
- fasteners work loose
- gaps become uneven
Framing sanity helps:
End gaps (butt joints) matter too
People focus on side gaps and forget end gaps.
End gaps help with:
- thermal expansion
- water shedding
If your builder is doing picture framing or complex patterns, end gaps become visible — so the layout should be planned, not improvised.
The “KWC homeowner checklist” for spacing
When you’re reviewing a quote or build plan, ask:
- What decking material are we using (PT/composite/PVC)?
- Are we following the manufacturer spacing/fastener system?
- How will you handle wet PT boards (tight install) vs dry?
- What’s the plan for drainage and airflow under the deck?
- Does the quote align with current Ontario deck pricing?
If you want a quoting checklist:
Quick guidance by material (practical, not a code table)
Pressure-treated (installed wet):
- Boards often go down close/tight because shrinkage is expected.
Pressure-treated (installed dry/KDAT):
- Needs intentional gapping and good drainage planning.
Composite:
- Follow the brand’s fastener + spacing requirements.
- Pay attention to end gaps at butt joints.
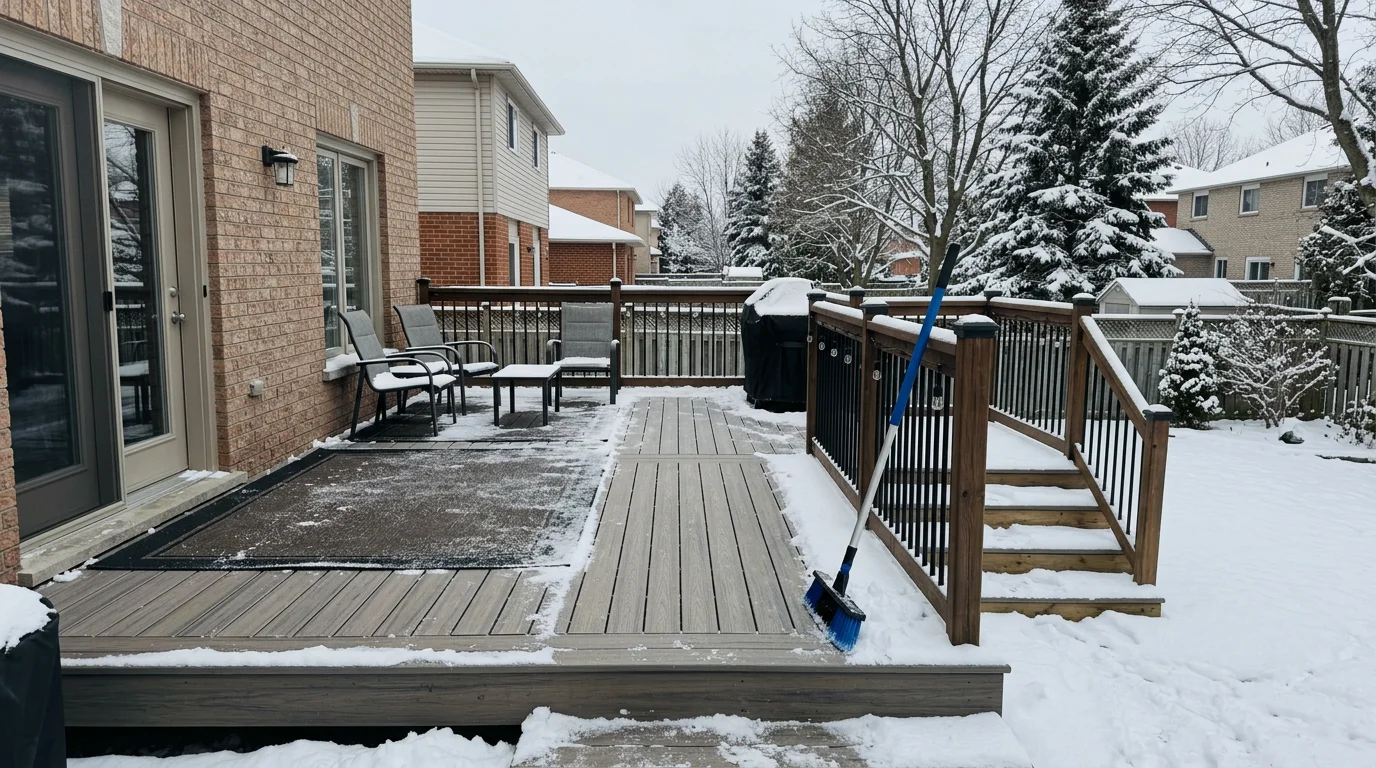
Winter issues: ice, shoveling, and salt
Spacing doesn’t fix winter damage by itself, but trapped water makes ice worse.
For winter care in Ontario: /decks/blog/winter-deck-care-ontario-salt-shoveling-ice
🎨 Not sure which material to pick?
Upload a photo of your backyard and see exactly how Trex, TimberTech, or cedar would look — free and instant.
FAQ
Why do my gaps look uneven?
Wood movement and framing irregularities can show up as uneven gaps. Better framing alignment reduces this.
Will bigger gaps drain better?
To a point, yes — but overly large gaps collect debris and can be uncomfortable underfoot.
Board spacing also affects traction and drying time
Small details that help:
- keep the deck clean so gaps don’t clog
- ensure the deck has a slight slope away from the house when appropriate
- avoid “trap zones” where leaves accumulate
If you’re attached to the house, read: /decks/blog/deck-ledger-flashing-ontario-water-damage-prevention
What to do if your existing deck has no gaps
If boards are tight and water pools:
- clean debris out first
- check framing for low spots
- consider resurfacing with a spacing-correct install if the structure is sound
Rebuild vs resurface: /decks/blog/deck-rebuild-vs-resurface-kitchener-waterloo-when-to-replace
Composite edge cases: picture framing and stair treads
Two areas where spacing and fasteners matter a lot:
- Picture framing: the border boards can trap debris; plan drainage.
- Stair treads: they see more wear and more snow/ice contact.
If winter safety is a priority, also consider lighting and stair rules:
- /decks/blog/deck-lighting-ideas-ontario-low-voltage-permit-safety
- /decks/blog/deck-stairs-code-ontario-rise-run-handrail-kitchener
Quick checklist for a post-install “quality check”
After installation, look for:
- consistent gaps (especially on long runs)
- no trapped debris lines (indicates low spots)
- fasteners flush (no proud screws)
- clean butt-joint end gaps (for composite)
If the deck is new and feels bouncy, revisit the framing plan:
Want help choosing decking + installation approach?
If you’re in Kitchener/Waterloo/Cambridge and you’re deciding between PT and composite (or you want to make sure your install details are sane), submit your project details here: /#quote-form.
Include:
You may also want to read Mosquito Control for Your Deck in Ontario.
You may also want to read Winter Deck Safety in Ontario: Ice, Snow, and Salt.
See our comparison in Deck Board Width: 5/4x6 vs 2x6 — Which Is Better? for more details.
- city
- deck size/height
- whether it’s a new build or resurface
- material preference
Upload a backyard photo and preview real decking materials with AI — free, instant, no sign-up.
Permits, costs, material comparisons, and questions to ask before requesting quotes — delivered to your inbox.