Deck Snow Removal in Ontario: Safe Tools and Techniques
Safe deck snow removal tools and techniques for Ontario winters. Avoid damage with proper shovels, brushes, and methods for wood and composite decks.
Your deck takes a beating during Ontario winters. Heavy snow loads can stress structural components, and ice buildup creates slip hazards that put your family at risk. But aggressive snow removal damages deck surfaces just as quickly as neglect.
The right tools and techniques protect both your deck and your safety during the coldest months.
Why Snow Removal Matters for Ontario Decks
Weight loads are the primary concern. Wet, heavy snow weighs approximately 15-20 pounds per cubic foot. A 200-square-foot deck buried under 12 inches of wet snow carries roughly 2,500-3,300 pounds of extra weight.
🏗️ Planning a deck project?
Get a free manual project review, or visualize your dream deck with AI before requesting quotes.
Most residential Ontario deck guides are designed for a 40-50 psf (pounds per square foot) live load plus snow load. The Ontario Building Code requires decks to handle snow loads based on your region—typically 30-40 psf for southern Ontario. While your deck should handle normal snowfall, accumulated ice and multiple storms without clearing can push limits.
Surface damage from freeze-thaw cycles worsens when snow sits on your deck. Meltwater seeps into cracks, refreezes, and expands—splitting wood fibers and working its way into composite board cores. This accelerates rot in pressure-treated lumber and causes delamination in lower-quality composite materials.
Ice dams form when snow melts during the day and refreezes at night. These create dangerous walking surfaces and trap moisture against your deck boards, increasing the risk of mold growth underneath.
Removing snow before it compacts into ice prevents these problems. You don't need to rush out during every flurry, but clearing after 4-6 inches of accumulation keeps your deck manageable and safe.
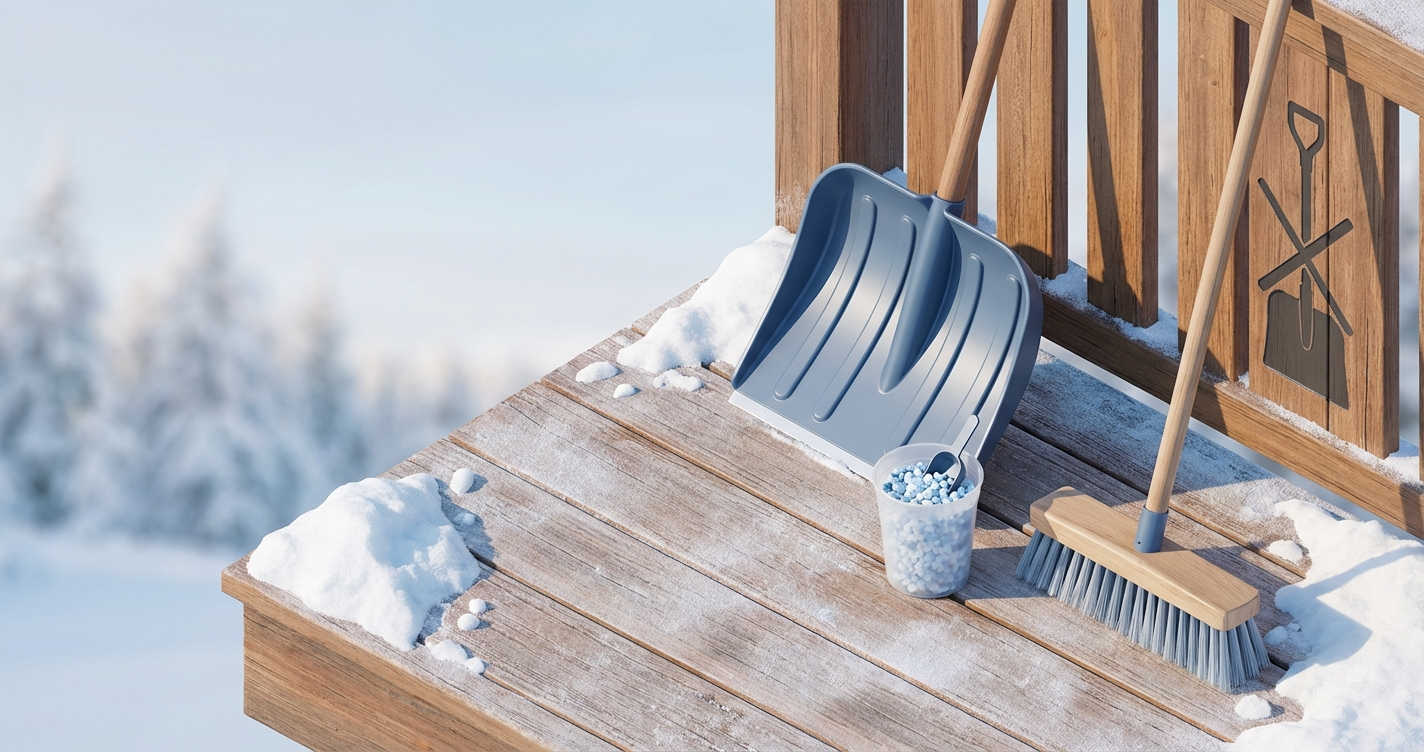
Safe Snow Removal Tools for Decks
Plastic Snow Shovels
Plastic-blade shovels are your first choice for deck snow removal. The flexible blade slides along the deck surface without gouging or scraping.
Look for:
- Wide blade (18-24 inches) to cover more surface area
- Lightweight construction (under 5 pounds) to reduce fatigue
- Angled handle to maintain proper leverage without leaning too hard
- Reinforced edge that won't crack in extreme cold
Expect to pay $25-45 for a quality plastic shovel at Canadian Tire or Home Hardware. Budget models under $20 often crack after one season.
Avoid metal-edged shovels entirely. Even with careful use, metal scrapes protective coatings off composite decking and tears wood fibers from pressure-treated lumber.
Push Brooms and Deck Brushes
For light, fluffy snow (2-4 inches), a soft-bristle push broom works better than a shovel. The sweeping motion is faster and completely eliminates surface contact damage.
Use a 24-36 inch wide broom with polypropylene or nylon bristles. Natural bristles freeze and become brittle in Ontario winters.
Technique matters: Push snow toward deck edges in straight lines. Don't use circular scrubbing motions—these grind snow into cracks and board gaps.
A quality push broom costs $30-60 and lasts several seasons with proper storage.
Snow Brushes with Extension Handles
Telescoping snow brushes (originally designed for vehicles) excel at clearing snow from deck railings, pergola beams, and hard-to-reach corners without climbing on furniture.
Choose a brush with:
- Foam or soft bristles that won't scratch finishes
- 360-degree rotating head for tight spaces
- Extension to 4-6 feet for elevated railings
These run $20-40 at automotive or hardware stores.
What NOT to Use
Metal shovels gouge deck surfaces and catch on board edges, causing splintering.
Ice choppers or spud bars destroy deck boards. You're not chipping concrete.
Salt and chemical deicers accelerate corrosion on metal fasteners and can discolor or damage composite decking. Composite deck maintenance in Ontario requires special care with winter chemicals.
Snowblowers seem convenient but create problems. The high-speed auger catches on board edges, tears up wood grain, and launches debris against your house siding. Snowblower chutes also spray snow mixed with sand and salt particles, which embed in deck surfaces.
Heat cables or melting mats designed for driveways use too much electricity for deck use (typically 40-60 watts per square foot) and can damage deck board surfaces through uneven heating and expansion.
Snow Removal Technique by Deck Material
Pressure-Treated Wood Decks
Pressure-treated lumber handles snow removal well if you use proper tools. Wood is more forgiving than composite for surface contact, but still vulnerable to gouging.
Clearing method:
1. Start at the house-side ledger board
2. Push snow toward deck edges using your plastic shovel at a 10-15 degree angle
3. Avoid lifting and throwing—this adds unnecessary impact when you set the shovel back down
4. For stairs, use a small hand brush to sweep each tread individually
5. Leave a thin layer (1/4 inch) rather than scraping to bare wood—this protects the surface and prevents tool damage
Ice removal: If ice forms, use warm (not boiling) water in a garden sprayer or watering can. The gradual melt is safer than chipping. Let meltwater drain through board gaps.
Never use a pressure washer in freezing temperatures—water freezes in board cracks and splits fibers.
For ongoing care tips, see our guide on pressure-treated deck maintenance in Ontario.
Composite Decking
Composite materials are more susceptible to surface scratching than wood. The plastic polymer shell shows tool marks easily.
Most manufacturers (Trex, TimberTech, Fiberon) void warranties if you use metal tools or harsh chemicals on their products.
Clearing method:
1. Use only plastic shovels or soft brooms
2. Push with the grain direction of the boards
3. Never scrape down to the board surface—leave that thin protective layer
4. For melting ice, use calcium chloride (not rock salt) sparingly, and only products rated safe for composite decking
5. Rinse thoroughly in spring to remove any chemical residue
Special concern: Composite decking with embossed wood-grain textures traps snow in the pattern. A stiff (but still plastic-bristled) deck brush works better than a shovel for these surfaces.
Read more about composite vs. wood decking performance in Ontario winters.
Cedar Decks
Cedar's natural oils make it more weather-resistant than pressure-treated lumber, but it's also softer and easier to dent.
Use the same techniques as pressure-treated decks, but:
- Apply even less pressure when pushing your shovel
- Avoid dragging heavy patio furniture across snow-covered surfaces (the snow hides deck boards, and you'll gouge them)
- Never use salt or calcium chloride on unsealed cedar—it draws moisture into the wood
Cedar benefits from annual sealing. Winter deck care in Ontario includes pre-season surface preparation.
Railing and Stair Snow Removal
Railings collect snow that adds stress to balusters and creates falling hazards when chunks break loose.
Use your telescoping snow brush to:
- Sweep top and bottom railing caps
- Clear snow from between balusters (prevents ice buildup that can push balusters out of alignment)
- Brush decorative post caps before snow freezes to them
Stairs are your highest priority for safety. Ice on stair treads causes most deck-related injuries in winter.
Safe stair clearing:
1. Start at the top and work downward (so you're standing on cleared treads)
2. Use a small hand brush or narrow plastic shovel
3. Clear each tread completely—don't leave snow to compact into ice
4. Apply a light layer of sand (not salt) for traction if needed
5. Check underneath stair stringers for ice dams
Proper stair construction helps winter safety. See our guide on deck stairs code in Ontario for tread depth and rise requirements that improve snow clearing.
When to Remove Snow (and When to Wait)
Clear your deck when:
- Snow accumulation reaches 4-6 inches
- You notice visible sagging or bouncing when walking on the deck
- Ice is forming on walking paths or stair treads
- Heavy wet snow falls (this weighs significantly more than dry powder)
- Multiple storms accumulate without melting between events
You can wait when:
- Light, fluffy snow under 2 inches covers the deck
- Temperatures will rise above freezing within 24-48 hours
- The deck is structurally sound and well-maintained
Never clear during:
- Active snowfall (you'll just do it twice)
- Extreme cold below -15°C (plastic shovel blades become brittle and crack)
- Freezing rain conditions (wait for it to stop, then address ice carefully)
Most Ontario homeowners clear decks 2-4 times per winter, typically after major storms.
Protecting Your Deck During Snow Removal
Use proper body mechanics: Keep your back straight, bend at the knees, and push rather than lift. Deck surfaces are elevated and often slippery—a fall from even a single-story deck can cause serious injury.
Wear appropriate footwear: Use winter boots with aggressive tread. Smooth-soled shoes slip on wet deck boards.
Check for obstacles first: Walk the deck before starting. Note furniture positions, planters, and any loose boards that might catch your shovel edge.
Mind the gaps: Snow hides the spaces between deck boards. Don't jam your shovel blade into these gaps—you'll split board edges or damage hidden joist tape.
Protect railings: Don't lean shovels or push heavy snow against railings. The lateral force can loosen posts or crack decorative elements.
Preventing Snow Damage Before Winter Starts
Pre-winter maintenance makes snow removal easier and protects your deck:
1. Clean thoroughly: Remove leaves and debris from between boards. Trapped organic material holds moisture and accelerates rot during freeze-thaw cycles.
2. Inspect and repair: Fix loose boards, protruding nails, and damaged railing components before snow hides them. A deck framing inspection identifies structural concerns.
3. Apply sealant: Fresh sealer on wood decks before November reduces moisture absorption. Water can't freeze in wood fibers it can't penetrate.
4. Clear underneath: Remove stored items and debris from under the deck. Good airflow prevents moisture buildup that leads to mold and structural decay.
5. Check drainage: Ensure water drains away from the deck perimeter. Proper deck drainage prevents ice dams at the foundation.
Snow Removal for Large or Elevated Decks
Multi-level decks require a systematic approach:
- Clear the upper level first
- Let snow fall to lower levels rather than throwing it over railings (you'll damage the lower deck surface)
- Work your way down level by level
- Check for accumulated snow between levels—this often gets missed
Large decks (300+ square feet) benefit from dividing the space into sections. Clear high-traffic areas (doorways, stairs, seating zones) first, then address the full surface when time permits.
Second-story decks need extra caution. The elevated height makes falls more dangerous, and accumulated snow on lower roofs can slide onto deck surfaces. Consider hiring professional snow removal services for complex elevated structures—expect to pay $75-150 per visit in the KWC area. If winter damage pushes you toward a rebuild, our Ontario deck cost guide covers current pricing.
If you're planning a new elevated deck, see our article on low deck vs. elevated deck considerations in Ontario.
🎨 Not sure which material to pick?
Upload a photo of your backyard and see exactly how Trex, TimberTech, or cedar would look — free and instant.
Common Questions
How much snow is too much for my deck?
Most residential decks in Ontario are designed for a combined live load and snow load of 70-90 psf. As a practical guideline, if snow accumulation exceeds 12 inches of wet, heavy snow or 18 inches of light powder, consider clearing it. If you notice visible sagging, bouncing, or creaking sounds when walking on the deck, remove snow immediately and inspect for structural damage.
Can I use a leaf blower to remove snow from my deck?
Leaf blowers work only for very light, dry, powdery snow under 2 inches deep. They're ineffective for wet or compacted snow, and the high air velocity can drive snow into board gaps and decorative details where it melts and refreezes. If you do use a blower, keep the nozzle at least 6 inches above the deck surface to avoid damage from the high-pressure air stream. A push broom is usually faster and more effective.
What should I do if ice forms on my deck boards?
Never chip ice with metal tools—you'll gouge the deck surface. For small ice patches, apply warm (not boiling) water from a watering can or garden sprayer. Let it melt gradually and drain through board gaps. For larger ice sheets, sprinkle a thin layer of calcium chloride rated for deck use (check your manufacturer's warranty guidelines first). After the ice melts, sweep away the chemical residue. Sand provides traction without chemicals, though it requires sweeping in spring.
Do composite decks need snow removal as urgently as wood decks?
Yes. While composite materials resist rot and moisture damage better than wood, they still face problems from heavy snow loads and ice buildup. Composite decking typically uses wood-composite joists for the underlying structure—these are just as vulnerable to stress from snow weight as traditional framing. Additionally, ice formation can damage the polymer cap layer on composite boards, and some composite materials become more brittle in extreme cold. Follow the same 4-6 inch accumulation guideline for clearing.
Should I seal or stain my deck before winter to help with snow removal?
For wood decks, yes. A fresh coat of water-repellent sealer or solid stain applied in late October or early November (when temperatures are consistently above 10°C) helps prevent moisture absorption during freeze-thaw cycles. This doesn't make snow removal easier, but it protects the deck from damage caused by meltwater. Choose products rated for freeze-thaw resistance and allow 48-72 hours of dry weather for proper curing. Composite decks don't need sealing, but should be cleaned before winter to remove dirt and organic debris that can trap moisture.
Upload a backyard photo and preview real decking materials with AI — free, instant, no sign-up.
Permits, costs, material comparisons, and questions to ask before requesting quotes — delivered to your inbox.