Winter Deck Safety in Ontario: Ice, Snow, and Salt
How to protect your deck from Ontario winter damage: safe snow removal, ice prevention, salt alternatives, and freeze-thaw protection tips.
Your deck faces serious challenges during Ontario winters. Freeze-thaw cycles, heavy snow loads, ice buildup, and salt damage can all compromise structural integrity and surface quality. Here's how to keep your deck safe and minimize damage through the cold months.
Snow Load Limits: How Much Weight Can Your Deck Handle?
The Ontario Building Code requires decks to support a minimum live load of 50 pounds per square foot (psf). Wet, heavy snow can weigh 15-20 pounds per cubic foot, meaning just 3 inches of packed wet snow can approach half your deck's rated capacity.
🏗️ Planning a deck project?
Get a free manual project review, or visualize your dream deck with AI before requesting quotes.
A typical 10×12 deck (120 square feet) is designed to hold 6,000 pounds total. But here's the math that matters:
- 6 inches of wet snow: ~1,800 pounds
- 12 inches of wet snow: ~3,600 pounds
- 18 inches of wet snow: ~5,400 pounds (90% of capacity)
Add furniture, a hot tub, or people, and you're quickly at or over the design limit. Older decks built before stricter code enforcement may have even lower capacity.
When to remove snow:
- Any accumulation over 12 inches on composite or wood decks
- Over 6 inches if you have a hot tub or heavy furniture
- Immediately if you notice sagging, creaking, or visible deflection
- Before any additional snowfall if your deck already has significant accumulation
If your deck feels bouncy or shows signs of stress, don't walk on it until you've cleared snow from the edges using a roof rake from ground level.
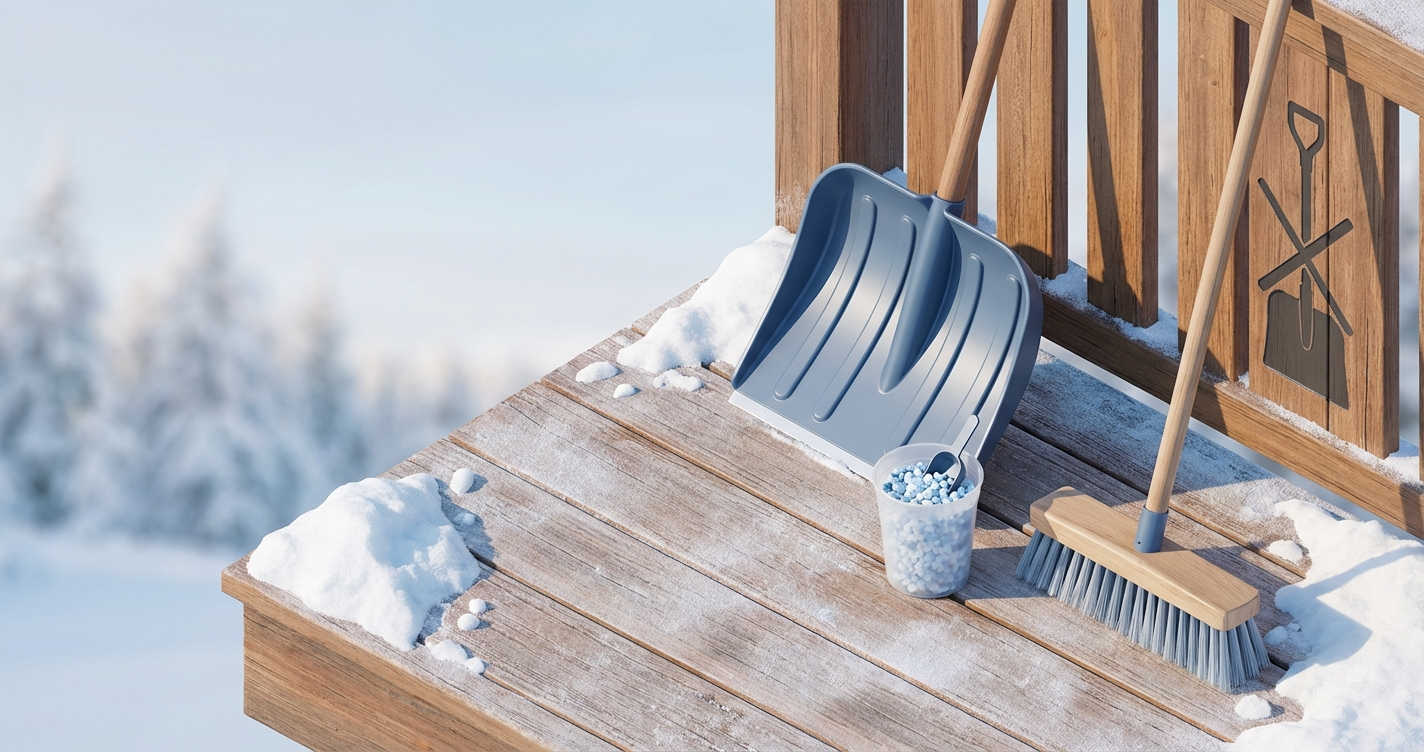
Safe Snow Removal Tools and Techniques
Use plastic, not metal. A plastic snow shovel with a straight edge won't gouge composite or damage wood grain. Never use a metal-edged shovel or ice chipper directly on deck boards.
Push, don't scrape. Keep the shovel blade at a slight angle (about 15-20 degrees) and push snow off the sides rather than scraping down to bare wood. Leave a thin layer (¼ inch) to protect the surface.
Work from the house outward. Start at the ledger board and push snow toward the stairs or railing. This prevents you from walking on unshoveled snow and reduces the chance of slipping.
Avoid these tools:
- Metal shovels (scratch composite, gouge wood)
- Ice chippers or ice scrapers (damage both surface types)
- Snowblowers on decks under 200 sqft (too aggressive, risk of damage)
- Pressure washers in freezing temperatures (water infiltrates and freezes, causing expansion cracks)
For elevated decks, use a roof rake with a plastic edge to pull snow off from ground level before climbing stairs.
Ice Prevention and Removal
Ice forms on Ontario decks primarily from freeze-thaw cycles—daytime temps above freezing melt snow, then nighttime temps refreeze it. It also accumulates from roof runoff, especially near downspouts.
Before ice forms:
- Clear snow before it melts and refreezes
- Ensure downspouts drain away from the deck (extend them at least 6 feet)
- Check that deck boards have proper spacing (⅛ to ¼ inch gaps) for drainage—see deck board spacing guidelines
- Improve drainage under elevated decks to prevent splash-back freezing
When ice has already formed:
Use calcium chloride ice melt in moderation (1-2 cups per 100 sqft), spread evenly and swept off within 24 hours. It's less corrosive than rock salt but still damages wood finishes and can discolor composite over time.
Safer alternatives to salt:
- Sand or kitty litter for traction (doesn't melt ice but prevents slips)
- Rubbing alcohol mixed with water (2:1 ratio) in a spray bottle for small icy patches
- Warm (not hot) water poured sparingly, then swept off immediately
Never chip ice with metal tools. If ice buildup is severe (over ½ inch), wait for temperatures above freezing and use a plastic putty knife to gently lift edges.
For composite decks, check your warranty—most manufacturers (Trex, TimberTech, Fiberon) explicitly void warranties if you use rock salt or calcium chloride repeatedly. See composite deck maintenance practices for brand-specific guidance.
Rock Salt Damage: What It Does to Wood and Composite
Rock salt (sodium chloride) is highly corrosive. On wood decks, it:
- Draws moisture into the grain, accelerating freeze-thaw splitting
- Breaks down stain and sealant, leaving wood exposed
- Corrodes metal fasteners and joist hangers
- Leaves white residue that's difficult to remove
On composite decking, rock salt:
- Causes surface fading and discoloration (especially on darker colors)
- Breaks down the polymer coating, making boards more porous
- Voids most manufacturer warranties
- Can leave permanent white streaks
If you've already used rock salt, sweep off all visible crystals and rinse with lukewarm water as soon as temperatures rise above freezing. Repeat rinsing 2-3 times over the following week to remove absorbed salt.
For pressure-treated or cedar decks, plan to re-stain or reseal in spring—salt damage often doesn't show until the wood dries out in warmer weather.
Freeze-Thaw Cycle Protection
Ontario's winter isn't a steady deep freeze. We get repeated freeze-thaw cycles from November through March, and this expansion-contraction process is what causes the most damage.
What happens during freeze-thaw:
1. Water enters cracks, gaps, or porous wood grain
2. Temperatures drop, water freezes and expands (9% volume increase)
3. Ice forces cracks wider
4. Temps rise, ice melts, more water enters deeper cracks
5. Cycle repeats 30-50 times per winter in KWC
Protect your deck before winter:
- Seal or stain wood decks in October before the first freeze—sealant prevents water infiltration
- Check flashing around the ledger board—see ledger flashing best practices
- Apply joist tape to the tops of joists if you're rebuilding—it's a waterproof membrane that prevents rot (joist tape guide)
- Clear drainage paths under the deck so meltwater doesn't pool and refreeze
For existing decks, inspect fasteners in early spring. Freeze-thaw can back screws out by ⅛ to ¼ inch over a winter—tighten or replace any that have lifted.
Inspecting for Winter Damage
Check your deck three times during winter:
1. Mid-December (after first major snow)
2. Mid-January (coldest period)
3. Late February or early March (worst freeze-thaw)
What to look for:
- Sagging or deflection when walking (indicates overstressed joists or footings)
- Loose railing (freeze-thaw can loosen post connections)
- Popped fasteners or lifted boards (expansion from moisture/freezing)
- Cracks in ledger board or flashing gaps (water infiltration risk)
- Rust streaks from corroded fasteners
- White salt residue that won't sweep away (embedded in wood grain)
If you spot structural concerns—sagging, loose posts, or significant cracks—don't use the deck until a contractor evaluates it. For a list of qualified deck builders, see local pages like deck builders in Kitchener or Cambridge deck contractors.
Minor surface issues (popped fasteners, small cracks) can wait until spring, but document them with photos and dates.
Hot Tubs and Winter Deck Loads
Hot tubs add 2,500 to 4,000 pounds of concentrated weight to a deck—far beyond the 50 psf standard residential load. Most hot tubs require a reinforced deck structure with closer joist spacing (12 inches on center instead of 16) and possibly additional footings.
In winter, you're adding snow load on top of the hot tub weight. A 10×10 section with a 3,000-pound hot tub and 12 inches of wet snow could exceed 5,400 pounds total—more than many decks can handle.
Winter hot tub safety:
- Clear snow from around and on the hot tub cover within 24 hours of snowfall
- Never let snow accumulate on the cover over 6 inches
- Check for deck deflection monthly (place a level across joists from underneath if accessible)
- Ensure footings were designed for point loads, not distributed loads
If your hot tub was added after the deck was built, you likely need structural reinforcement. See hot tub deck structural requirements for a full checklist, or consult a structural engineer before winter.
Footing and Foundation Concerns in Winter
Deck footings below the Ontario frost line (48 inches or 1.2 m) should remain stable through winter. Footings above the frost line can shift from frost heave—soil expands when frozen, lifting the footing, then settles unevenly when it thaws.
Signs of footing problems in winter:
- Deck posts that appear higher relative to the ground
- Gaps forming between the deck and house
- Doors or stairs that suddenly don't align
- Visible cracks in concrete footings
Frost heave is most common in clay-heavy soils (typical in KWC) and with shallow footings (common on older decks built without permits).
If you suspect frost heave, don't attempt repairs until spring thaw. Temporary supports or braces can stabilize the structure, but permanent fixes require excavation and deeper footings. For new builds, helical piles vs. concrete footings compares frost-resistant foundation options.
Composite vs. Wood Deck Winter Performance
Composite decking handles snow and ice better than wood in some ways, worse in others:
Advantages:
- No moisture absorption means less freeze-thaw expansion
- Doesn't rot or split from winter water infiltration
- No need to reseal or restain after winter
Disadvantages:
- Gets extremely slippery when wet or icy (worse than wood)
- Can become brittle in extreme cold (below -20°C)
- Salt damage is often permanent (white streaks don't sand out)
- More expensive to replace damaged boards: $8-15 per linear foot vs. $3-6 for wood
Pressure-treated wood absorbs moisture and splits more easily, but it's:
- Easier to repair (sand, patch, or replace individual boards cheaply)
- Less slippery in icy conditions
- Repairable after salt damage with sanding and resealing
Cedar performs similarly to pressure-treated but costs more to replace ($6-10 per linear foot). Both wood types need resealing every 1-2 years—schedule it for late September or early October, 4-6 weeks before the first freeze.
For a full breakdown, see composite vs. wood decking in Ontario.
Stairs and Railings: Winter Hazards
Deck stairs collect ice faster than the main deck surface because they don't drain as effectively. Ice builds up in the corners where risers meet treads, creating slip hazards.
Preventing stair ice buildup:
- Sweep snow off stairs immediately after every snowfall (don't let it compact)
- Apply sand or kitty litter on treads for traction
- Install stair heating cables if icing is a recurring issue ($150-300 for a typical staircase)
- Check that stringers have proper drainage gaps (⅛ inch between treads)
Railing safety in winter:
- Loose railings are dangerous when icy—test stability monthly
- Wood railings can rot at ground-level posts from snow pileup (keep snow cleared 6 inches away from post bases)
- Metal railings (aluminum, steel) get extremely cold—consider temporary foam pipe insulation on handrails if young children use the deck
Ontario Building Code requires railings on any deck over 24 inches above grade. If your railing feels loose, don't use the stairs until it's repaired. See deck railing code requirements for inspection guidelines.
When to Call a Professional
Contact a deck contractor or structural engineer if you observe:
- Visible sagging or bouncing under normal use
- Cracks in ledger board or posts wider than ⅛ inch
- Shifting or tilting of the deck frame relative to the house
- Corroded or rusted joist hangers (common where salt runoff concentrates)
- Soft spots in deck boards (indicates hidden rot from water infiltration)
Don't wait until spring if you notice structural issues—winter freeze-thaw will make them worse. Most contractors in KWC offer winter inspections for $150-300, which includes a written report of necessary repairs. If the assessment points toward replacement, our Ontario deck pricing guide will help you understand the full investment.
For a list of qualified deck builders in your area, see:
Emergency repairs (loose railings, structural instability) can often be done even in winter, though full rebuilds wait until spring. See best time to build a deck in Ontario for seasonal planning.
🎨 Not sure which material to pick?
Upload a photo of your backyard and see exactly how Trex, TimberTech, or cedar would look — free and instant.
Common Questions
Can I use a snowblower on my deck?
Only on large decks (over 200 sqft) with composite or very smooth pressure-treated surfaces. Set the blade height to leave ½ inch of snow—never scrape down to bare boards. Single-stage electric snowblowers (not gas-powered) are safest. For most residential decks, a plastic shovel is faster and causes less damage.
How do I remove black ice from deck stairs?
Use rubbing alcohol diluted 2:1 with water in a spray bottle—it melts ice without salt. For immediate traction, sprinkle sand or kitty litter. Never use rock salt on stairs; the runoff concentrates at the bottom and damages both deck boards and the ground below.
Does composite decking crack in cold weather?
Most brands are rated to -40°C without cracking, but thermal contraction can cause fastener pullout in extreme cold. Check fasteners in late February and tighten any that have backed out. Older composite formulations (pre-2015) are more brittle; newer capped polymer boards handle freeze-thaw better.
Should I cover my deck for winter?
No. Tarps or covers trap moisture and prevent airflow, leading to mold and accelerated rot on wood decks. Composite decks don't benefit from covering either. The exception: if you have a ground-level deck in a high-snowfall area and want to prevent snow compaction, use a breathable mesh tarp staked loosely over the surface (not sealed at edges).
When should I reseal my wood deck after winter?
Wait until daytime temperatures are consistently above 10°C (50°F) and the deck has had at least 3-5 dry days to fully dry out. In KWC, that's typically late April or early May. Clean the deck with a deck cleaner (not bleach), let it dry completely, then apply stain or sealant. Most products require 48 hours of dry weather after application.
Upload a backyard photo and preview real decking materials with AI — free, instant, no sign-up.
Permits, costs, material comparisons, and questions to ask before requesting quotes — delivered to your inbox.