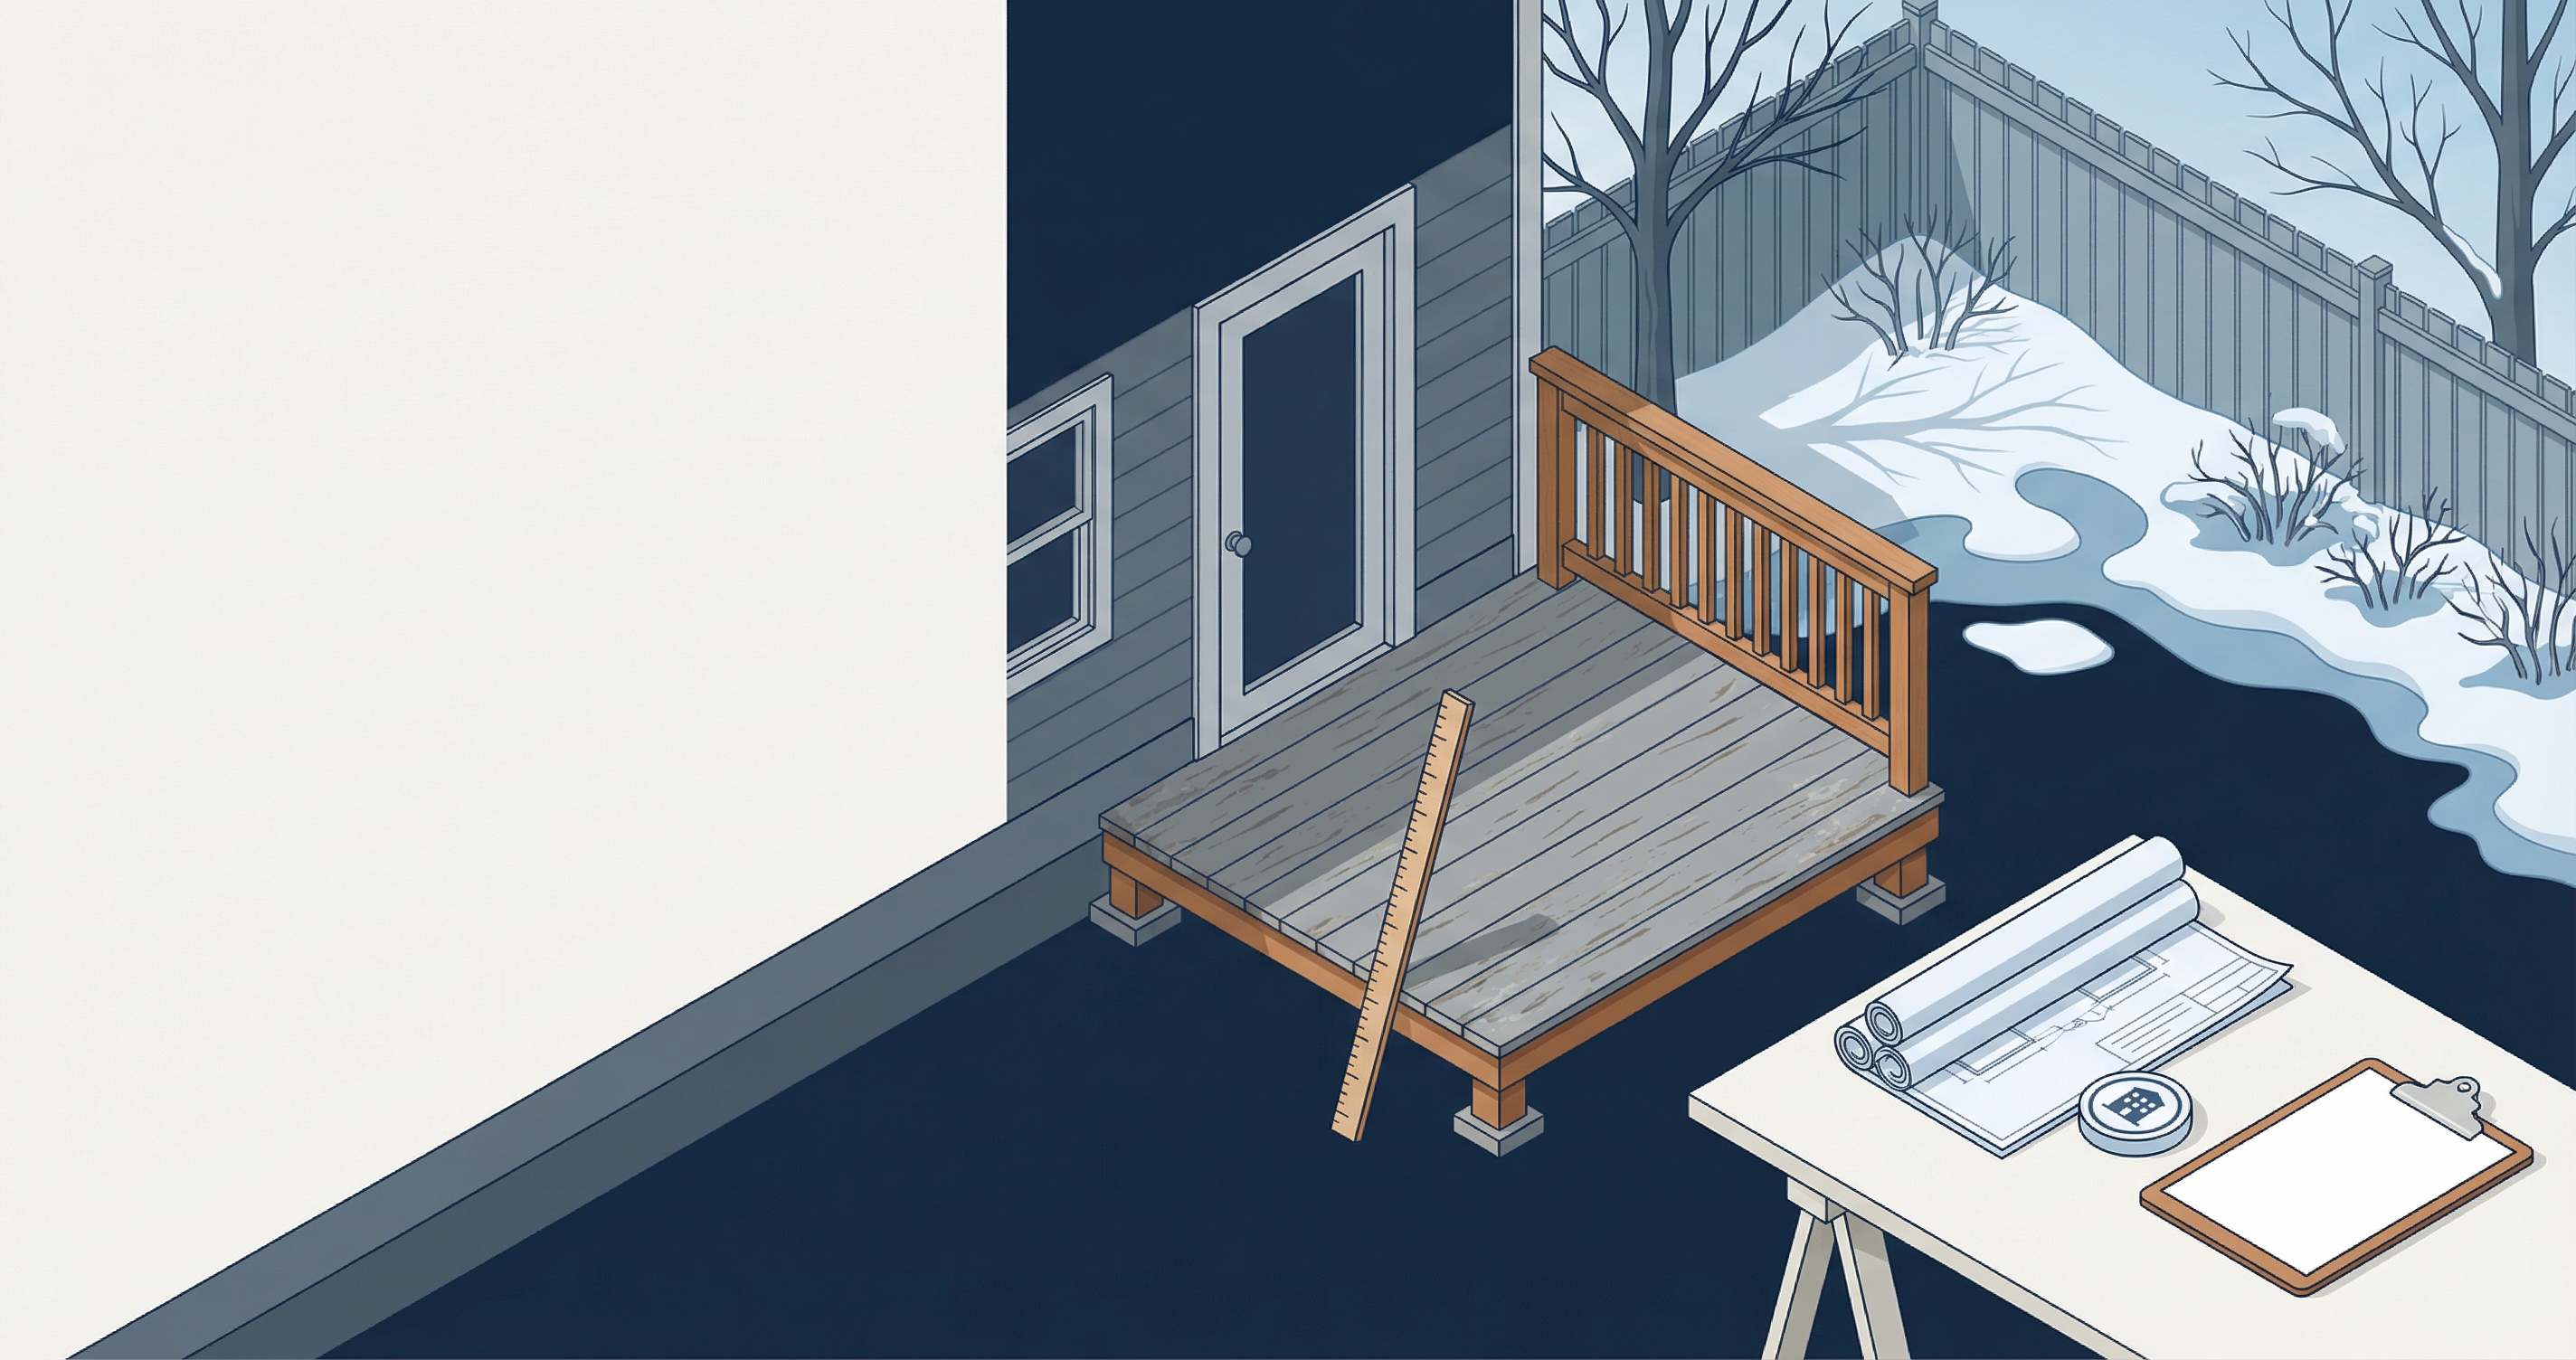
Deck Lighting Ideas in Ontario: Low-Voltage, Safety, and Planning
Smart deck lighting layout (stairs, posts, under-rail) with practical notes on low-voltage wiring, transformers, and safety in wet climates.
A deck without lighting is a deck you stop using at 8 PM. Good lighting extends usable hours, makes stairs safer, and adds curb appeal. In Ontario, where fall and spring nights come early, lighting turns a three-season deck into a four-season one.
Below: fixture types, layout planning, wiring basics, and where Ontario electrical rules draw the line between DIY and licensed work.
Why Deck Lighting Is Worth It
- Safety: Stairs and deck edges are trip hazards in the dark, especially on elevated decks.
- Usability: Task lighting near a grill means you can cook after sunset instead of packing up by early evening in September.
- Ambiance: Warm-toned lighting turns the deck into an inviting space for entertaining.
- Home value: A well-lit deck photographs better for listings and signals the outdoor space was built with care.
🏗️ Planning a deck project?
Get a free manual project review, or visualize your dream deck with AI before requesting quotes.
Low-Voltage vs Line-Voltage: Why 12V Is Standard
Deck lighting almost always uses 12-volt low-voltage systems rather than standard 120V household current.
Why 12V wins for decks:
- Safe in wet conditions. 12 volts cannot deliver a dangerous shock, even in rain or snow.
- DIY-friendly. In Ontario, low-voltage lighting does not typically require an Electrical Safety Authority (ESA) permit or a licensed electrician.
- Flexible. Thin wiring routes easily through deck framing. You can add or move fixtures without major rewiring.
- Efficient. A full deck lighting package might draw 50-150 watts total.
When you need 120V: Permanent outdoor outlets, ceiling fans on covered decks, or security floodlights require line-voltage circuits from a licensed electrician with an ESA permit.
Types of Deck Lighting
Post Cap Lights
Sit on top of railing posts and cast a warm glow downward. Best for perimeter ambiance. Most snap onto standard 4x4 or composite post sleeves, with wiring running down inside the post. $20 - $60 per cap.
Stair Riser Lights
Recessed into the vertical face of each riser. The most important safety lighting element on any elevated deck. Requires a hole saw to install; wire runs behind the stringer. $15 - $40 per light. For stair code requirements, see the stair code guide.
Under-Rail LED Strips
LED strips mounted underneath the top rail, casting soft light downward along the deck edge. Adhesive-backed strips go into an aluminum channel under the rail cap. Clean, modern look. $5 - $15 per linear foot (strip + channel).
Recessed Deck Lights (In-Floor)
Small, flat fixtures installed flush with the deck surface — placed along the perimeter or beside stairs. Easier to install during the build than as a retrofit. $15 - $35 per light.
String Lights and Landscape Spots
String lights are the easiest way to add overhead ambiance (use commercial-grade strings rated for Ontario winters). Landscape spotlights aimed upward from the yard complement built-in lighting. Both connect to the same low-voltage transformer.
Planning a Lighting Layout
Good lighting uses zones rather than scattering fixtures randomly:
Zone 1: Stairs and Safety (Non-Negotiable)
Every stair set needs riser lights or step illumination. Place a light on every other riser at minimum, plus at the top and bottom landings. If the deck is elevated, add perimeter recessed lights along the edge.
Zone 2: Ambient Perimeter
Post cap lights and under-rail strips define the deck shape at night. Aim for warm white (2700K - 3000K) colour temperature — cool white looks harsh outdoors.
Zone 3: Task and Cooking
Grill areas and dining surfaces need brighter, focused light — 2-3x the brightness of the ambient zone. A dimmer or separate switch lets you drop the intensity after cooking.
Zone 4: Accent (Optional)
Spotlights on a built-in bench, planter, or privacy screen. Less is more — one or two well-placed fixtures outperform a dozen.
Transformer Sizing
All low-voltage lighting runs through a transformer that steps 120V down to 12V.
How to size it:
1. Add up total wattage. Example: 8 post caps at 2W (16W) + 10 risers at 1.5W (15W) + 20 ft of LED strip at 4W/ft (80W) = 111W.
2. Add 20% headroom. 111 x 1.2 = 133W. Choose a 150W transformer.
3. Pick one with a built-in timer or photocell, or add a smart plug. Astronomical timers that adjust to sunset work well in Ontario, where sunset shifts nearly 6 hours between June and December.
Placement: Mount in a sheltered spot near an exterior GFCI outlet. Keep within 50 feet of the farthest fixture to minimize voltage drop (use 12 AWG wire for longer runs).
Wiring Basics
Simpler than household electrical work, but a few practices keep the system reliable through Ontario's freeze-thaw cycles:
- Use direct-burial rated wire (12/2 or 14/2 low-voltage landscape wire), even for runs through the deck frame
- Waterproof connectors only. Gel-filled wire nuts or waterproof crimps prevent corrosion. Standard wire nuts will fail within a year outdoors.
- Route wire through the frame, not across the deck surface. Drill through joists or run along the inside of the rim joist.
- Hub-and-spoke layout beats daisy-chaining. Run a trunk wire from the transformer to a central point, then branch to fixture groups for consistent voltage.
Ontario Electrical Code: DIY vs Licensed
No permit required: Low-voltage (12V) systems powered by a plug-in transformer connected to an existing outdoor outlet, plus battery or solar fixtures. This covers most deck lighting.
Licensed electrician + ESA permit required: Any new 120V circuit or outlet, hardwired fixtures like ceiling fans, or panel work.
If the plan uses a plug-in transformer and 12V fixtures, you or your deck builder can handle it. New 120V wiring needs a licensed electrician. For broader permit questions, see the Waterloo permit guide.
Best Lighting for Ontario Winters
KWC sees +35C summers and -25C winters, plus ice, road salt, and standing water from freeze-thaw. Choose fixtures accordingly:
- IP65 or IP67 rated. IP65 handles water jets; IP67 handles temporary submersion. Below IP44 is not rated for direct exposure.
- Stainless steel or marine-grade hardware. Zinc-plated screws rust within two seasons.
- LEDs perform well in cold — slightly better than at room temperature, with no warm-up delay.
- Polycarbonate lenses on stair lights. Glass cracks from shovels. Frosted acrylic or polycarbonate is more durable. For winter care tips, see the winter deck guide.
Budget Ranges for KWC
- Basic safety package (stair risers + a few post caps + transformer): $300 - $600
- Mid-range (stairs + post caps + under-rail strips + transformer + timer): $600 - $1,200
- Full custom (all zones + smart controls + landscape spots + premium fixtures): $1,200 - $2,500
These are material costs. Labour is typically included when a builder installs lighting during the deck build. Retrofitting costs more because wire routing is harder after the fact. For total deck pricing, see the Kitchener cost guide, or check our deck cost estimates for Ontario for a province-wide breakdown.
The Bottom Line
Deck lighting is one of the most practical upgrades you can add to a deck. Low-voltage LED systems are affordable, reliable in Ontario's climate, and well within the scope of a typical build. Plan in zones, size the transformer with headroom, use waterproof connections, and choose fixtures rated for Canadian winters.
---
🎨 Not sure which material to pick?
Upload a photo of your backyard and see exactly how Trex, TimberTech, or cedar would look — free and instant.
Want a fast deck quote in Kitchener-Waterloo?
If you're planning a deck and want a ballpark price + a builder-ready scope quickly, submit your details here:
- Get a deck quote: Get a deck quote
The more info you include (approx size, height, material preference, stairs/rail, photos), the more accurate the estimate.
You may also want to read Fire Pit on a Deck in Ontario: Safety, Code, and Ideas.
Also consider reading Patio Lighting Ideas for Ontario Evenings.
Upload a backyard photo and preview real decking materials with AI — free, instant, no sign-up.
Permits, costs, material comparisons, and questions to ask before requesting quotes — delivered to your inbox.